 During an otherwise normal conversation today, Gordon said “Of all the times I’ve been on fire, most of them have been on purpose.” Oddly, this didn’t come up because he was on fire at some point today. He did, however, burn himself making this knife, which inspired the comment. You can still try this at home, just don’t ever put very hot metal on your skin.
This Popular Mechanics project recycles (dare I say, upcycles? Sorry, Gordon) an old file to make a knife. So if you’re tired of scratching things and decide you want to cut things instead, this is a great project for you.
You can find the original instructions in the December, 1944 edition of Popular Mechanics (page 106). Here’s how Gordon did it:
1. Polish the file with a wire wheel. This will help you see when the colors indicate you’ve reached the right temperature. 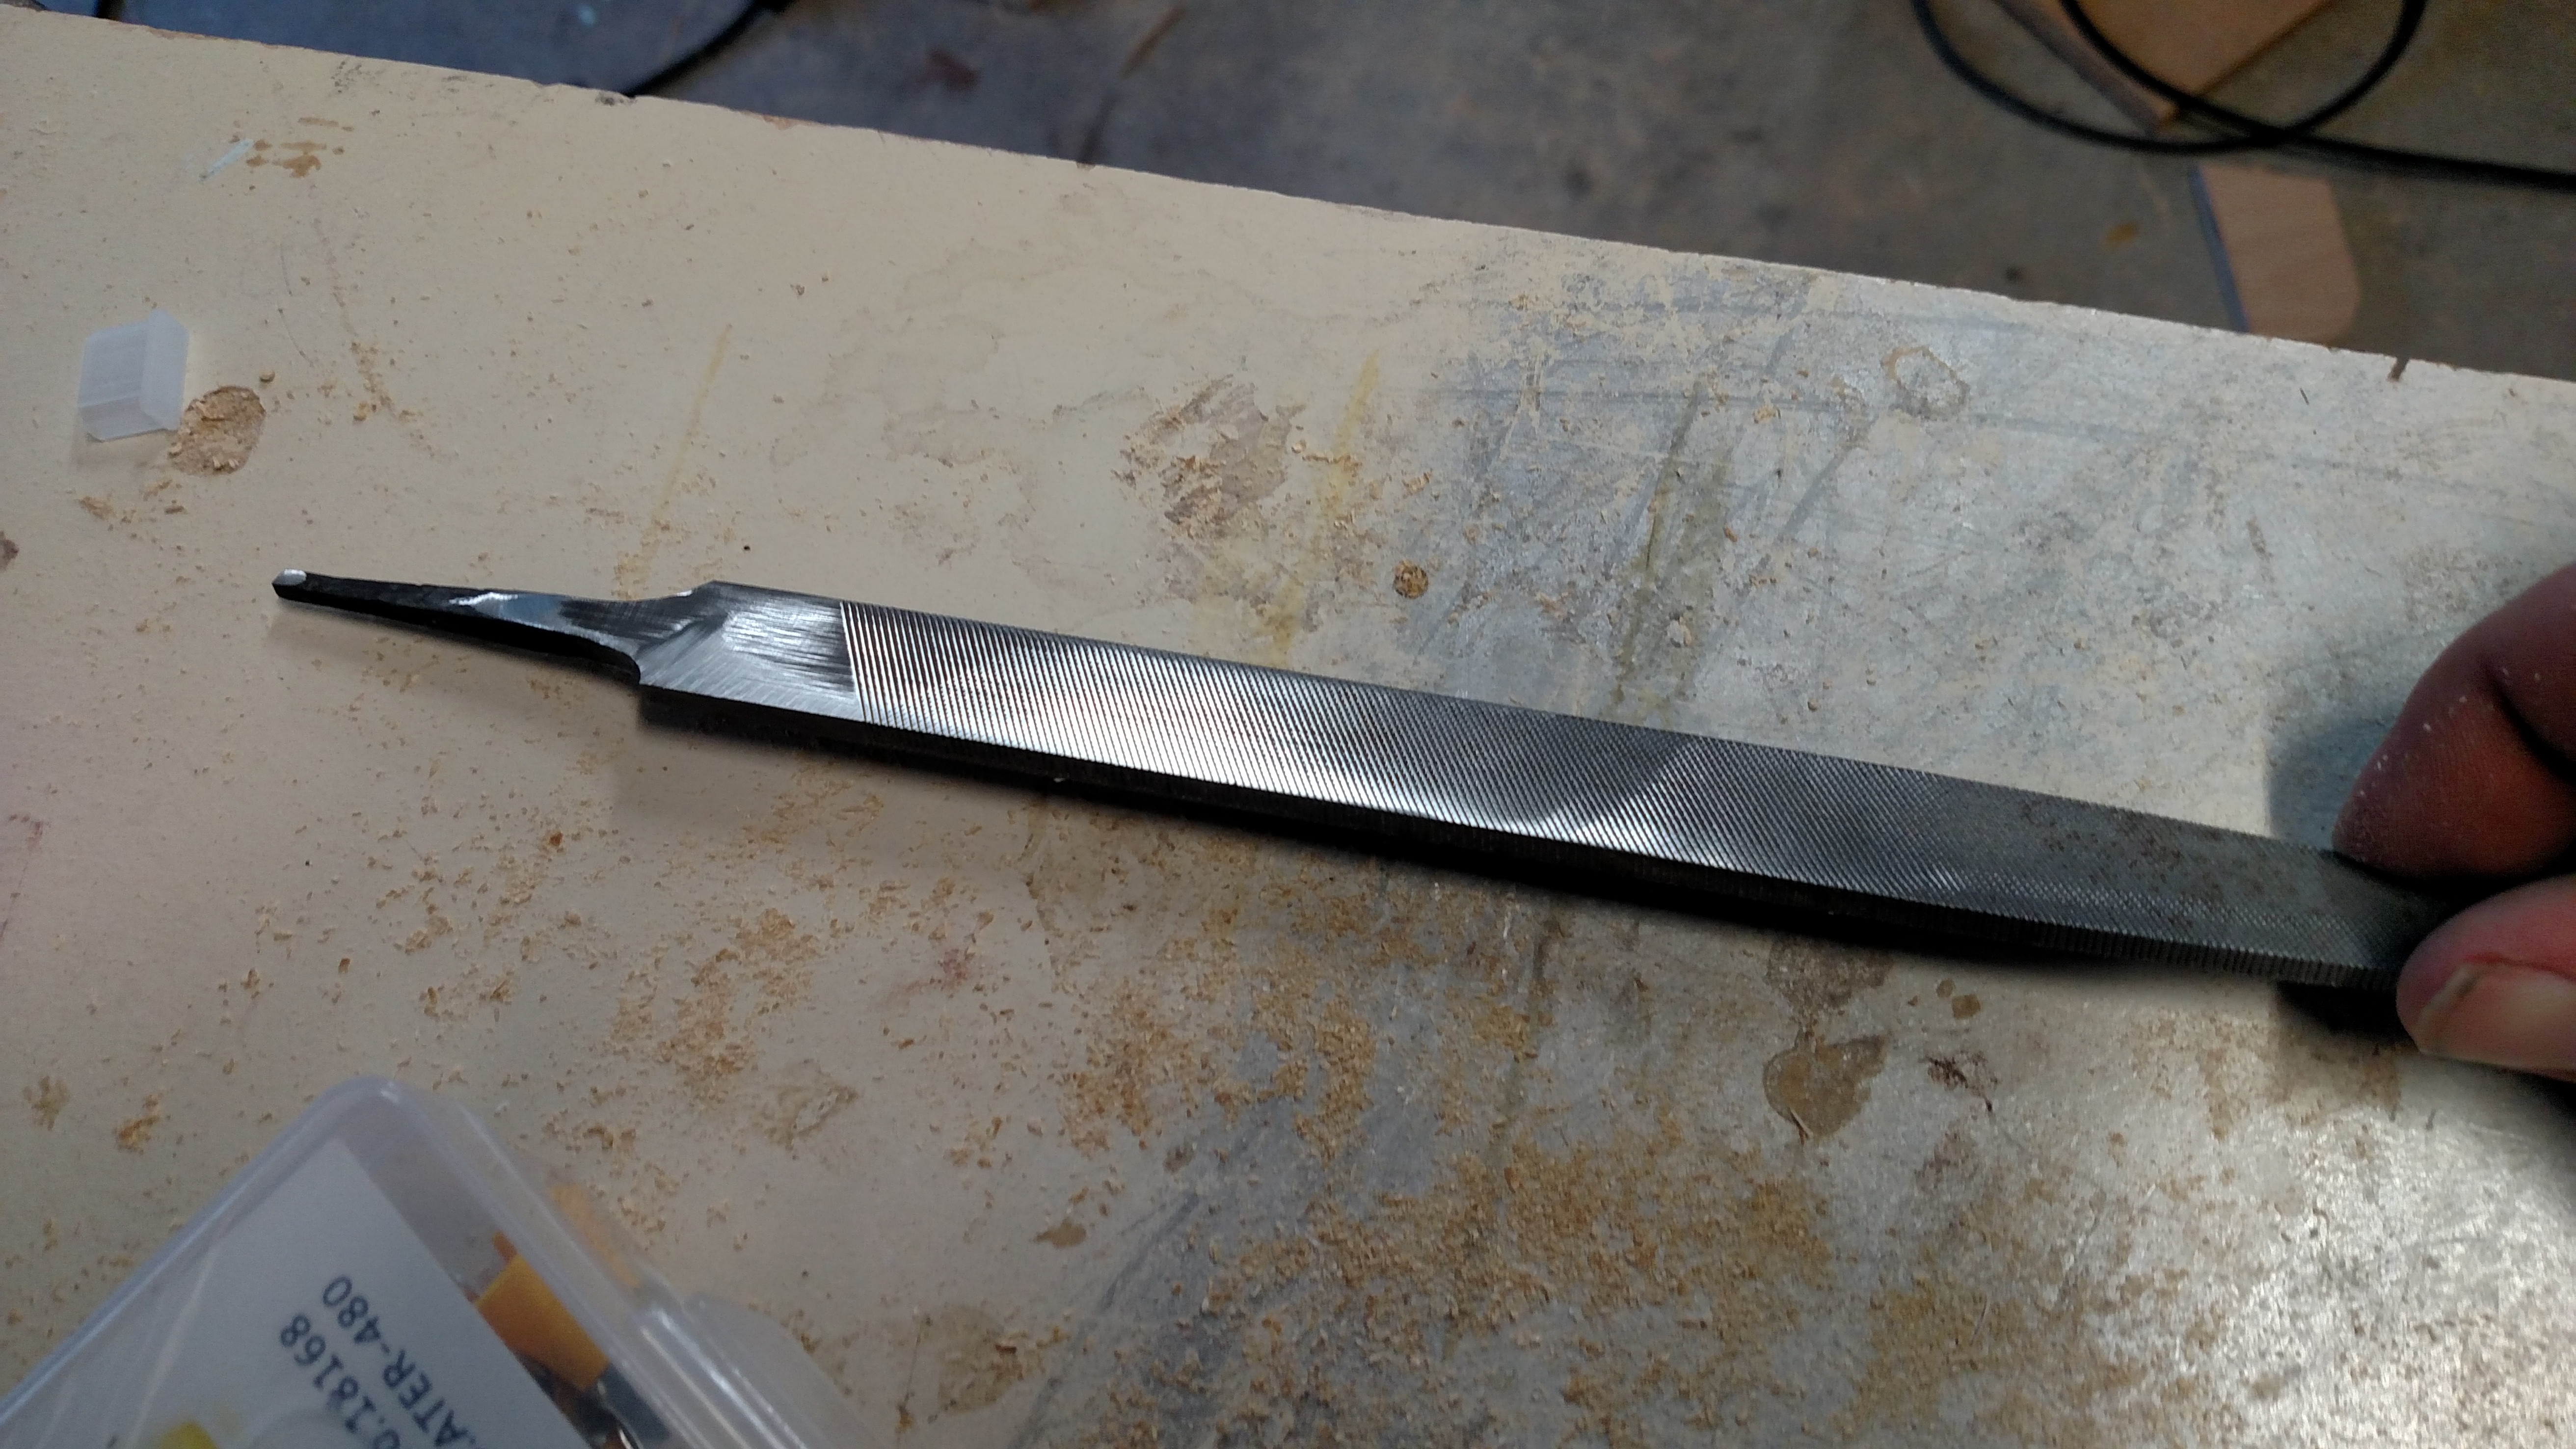
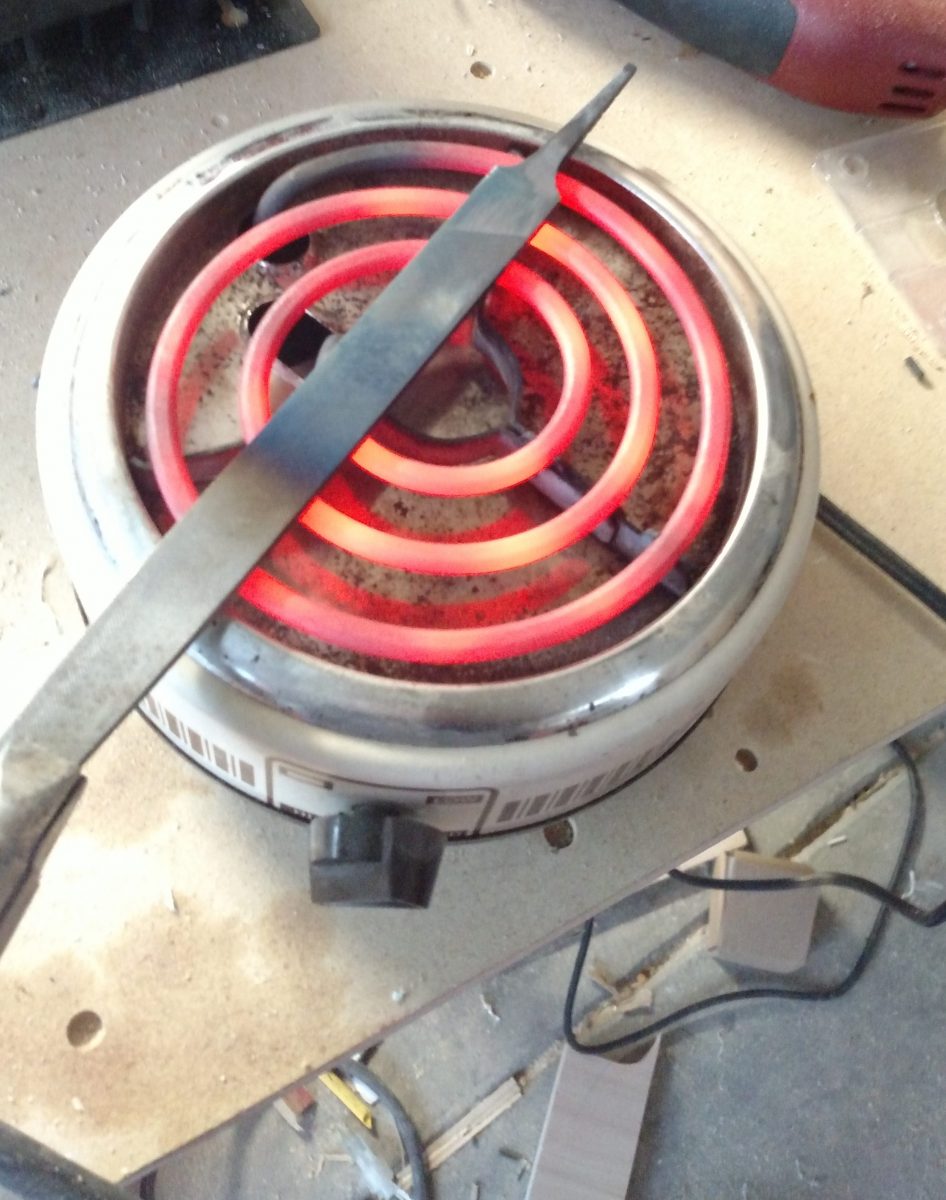
2. Heat the tang and file until the tang is red and the part that will be blade is blue (I used a 1940s-era hotplate for historical accuracy and because I’m secretly an 80-year-old man). Then remove from heat and allow it to air cool. This keeps it soft. If you quench the file, it will harden and be nigh impossible to cut.
3. Draw the shape of your knife. I used a silver sharpie to give the basic outline.
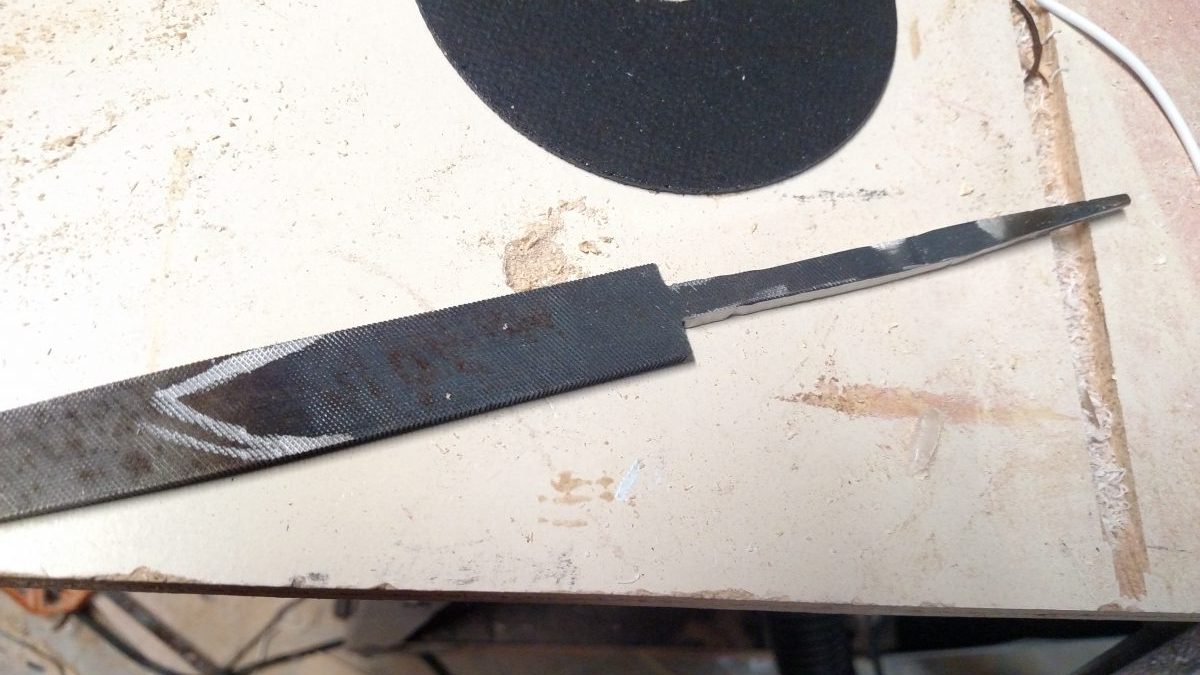
4. Cut out the shape of the tang using a hack saw and 543 curse words, then give up and use a cutting wheel on your grinder instead.
5. Shape the knife blade using an angle grinder with a metal grinding wheel, followed by a sanding wheel. You’ll need to have a bowl of water handy and dip the knife frequently to avoid heating it up while grinding.

6. Find something to use as a pommel (I picked up a candlestick at the thrift store and cut off the end). You could also use your childhood tee-ball trophy, or any other metal or plastic knob-like things you have lying around.
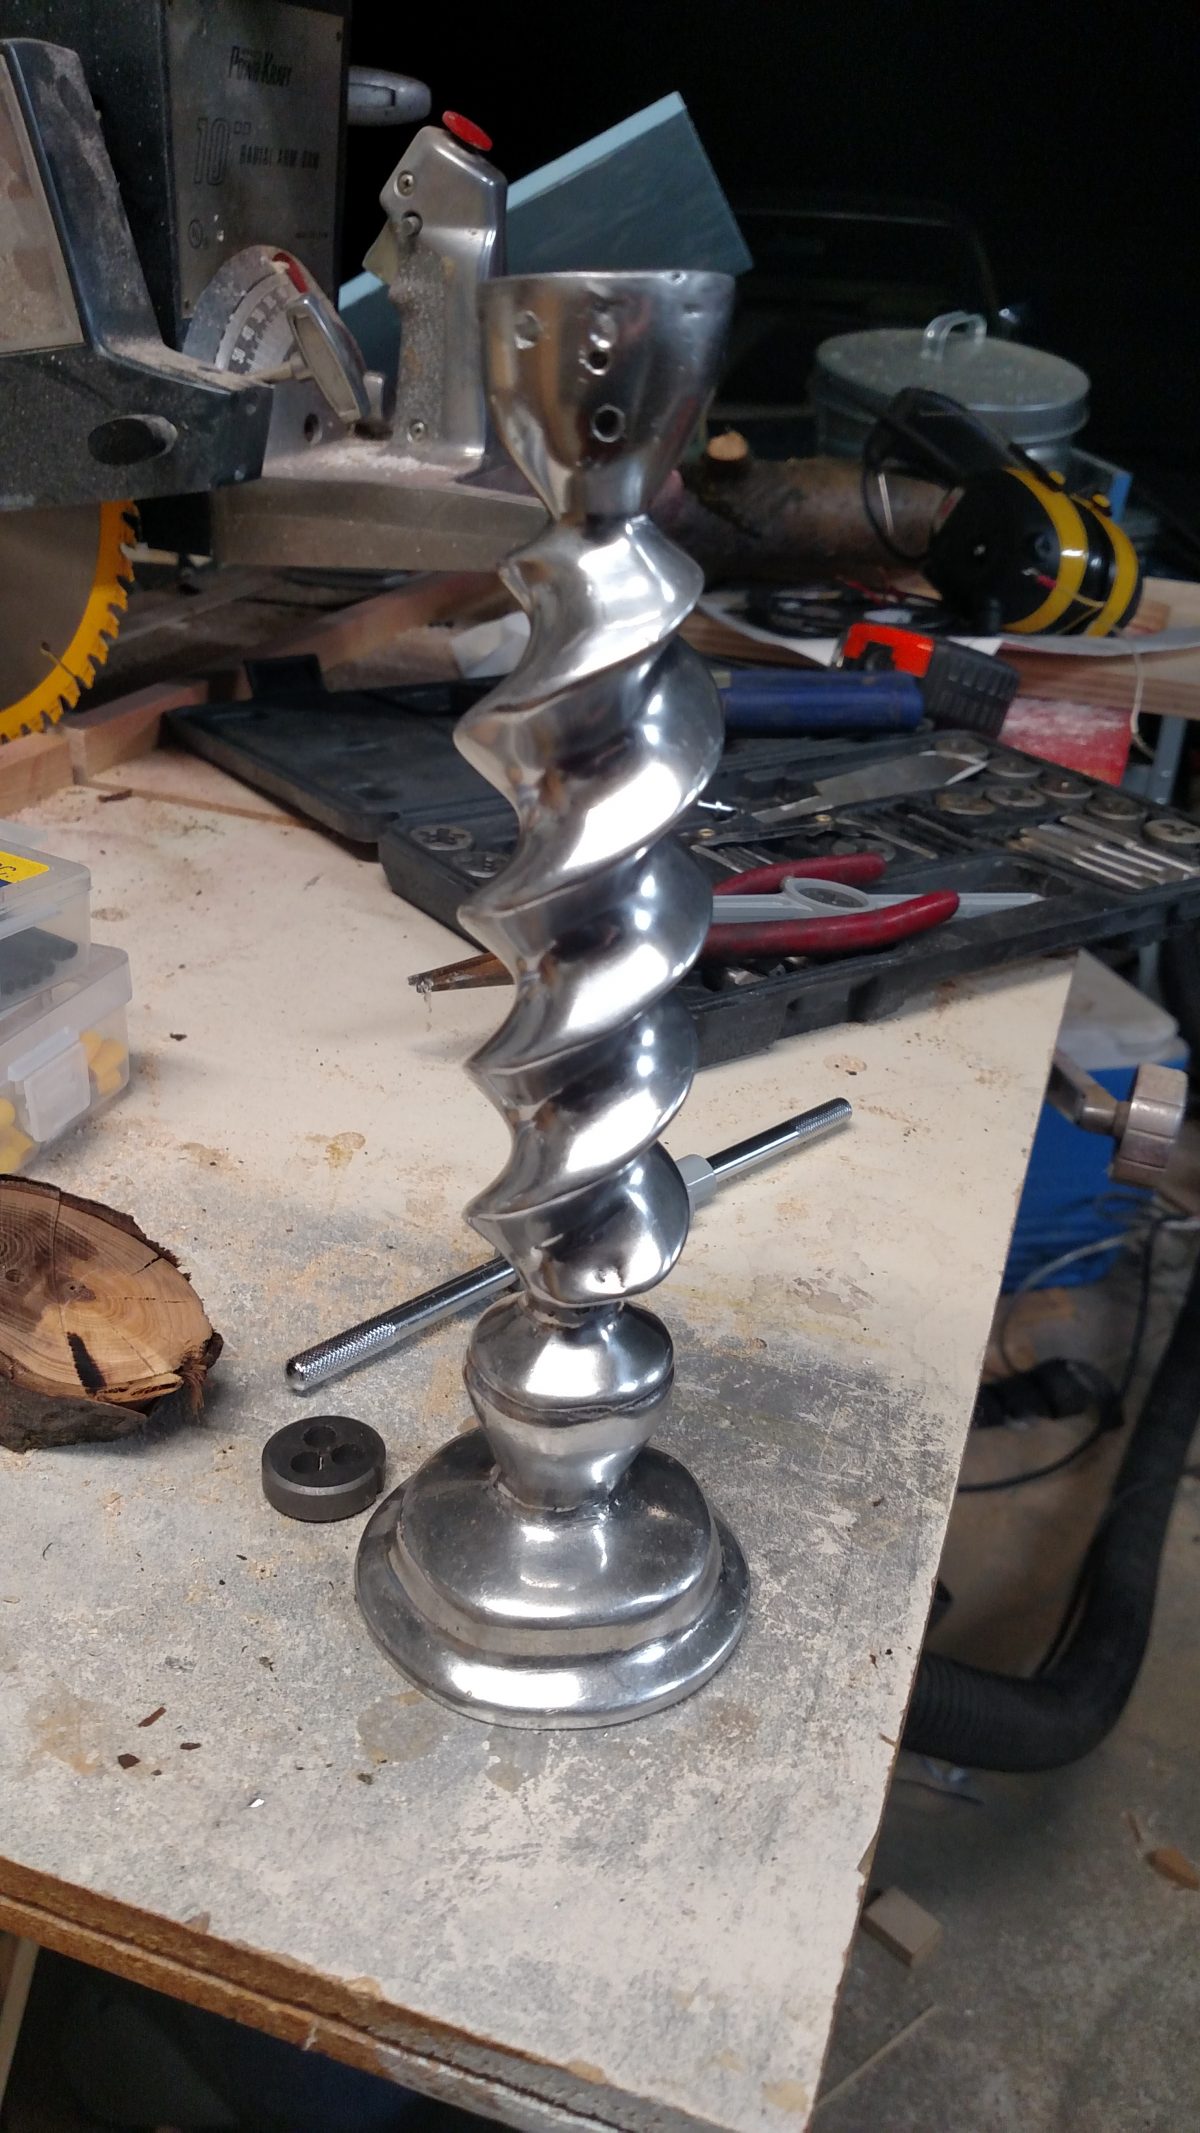
7. Thread the end of the tang and tap the pommel to match.
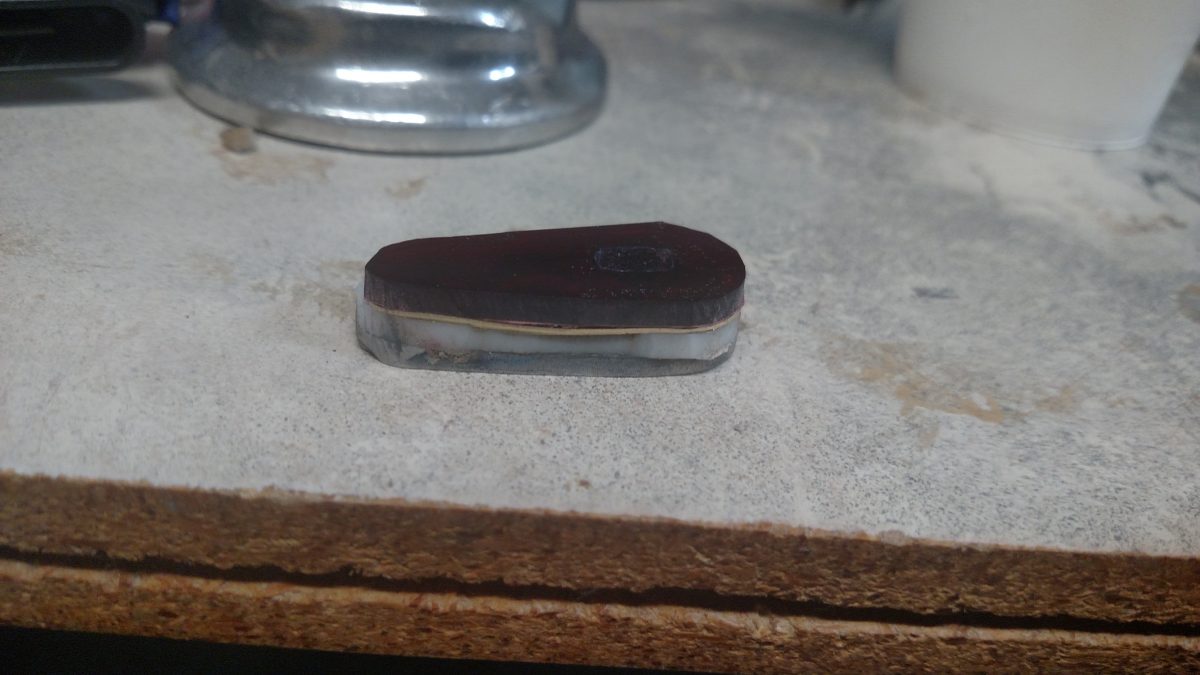
8. Make a bolster out of metal and/or plastic (I stacked a piece of steel, white and red plastic, and brass sheets, glued them together and then cut them to the shape I wanted). Drill a hole in the bolster and drive it up the tang to the base of the blade. Use superglue to convince it to stay in place.
9. Drill holes in squares of leather and stack them up against the bolster, using epoxy to adhere each layer. When you reach the threaded portion of the tang, tighten the leather down by screwing on your pommel.

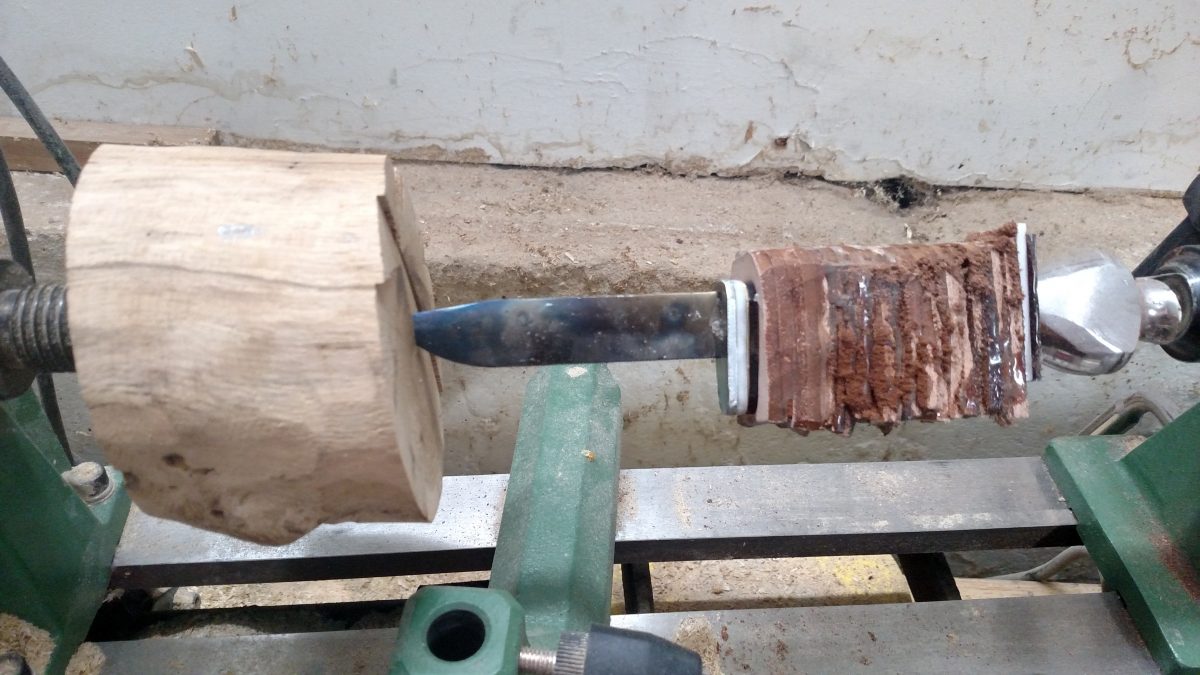
10. Clamp the knife in a lathe or vise and use a sander to shape the handle and pommel to your liking. Be warned, if your pommel is made of metal it can get very hot, which you may fail to notice if you’re just touching leather. You’ll know it’s too hot when you burn the skin on your finger, reach up to put the burned finger in your mouth on instinct, only remember you’re still holding a fiery hot knife when it also burns your face, drop the knife to stop the burning, and watch in slow motion as it falls toward the ground thinking, “if this stabs my foot I’ve just become all three of the Stooges” (based on true events).
11. Finish the leather with your finisher of choice. I used furniture wax because I had it on hand.

The knife turned out really nice! Gordon even uses it for things.
Here is how it rates on our arbitrary PM project scale:
Exactness of Instructions: 8/10
The instructions are all there, but the order can be confusing with the pictures and instructions. If you read through the whole thing and look at all the pictures before starting, you should have everything you need. (Editor’s note: I think the 8 is extremely generous. It could be that I was writing this post at 11 p.m., but I found the instructions deeply confusing. Gordon disagrees, and since he built it we’re going with his rating here).
Ease of Build: 6/10
You definitely have to know your way around the shop and have experience with relatively dangerous tools for this build. And even with that experience, it will take at least a couple evenings in the garage to finish. And Gordon burned his face, which docks at least a full point.
Relevance: 9/10
We still need knives just as much as people in the forties did. We also need files, so you’ll just have to decide what you need more.
