 I love getting Christmas cards from all our friends and family this time of year. It’s nice to see what everyone has been up to and see which kid is making the best/weirdest face in the picture. Since we don’t have kids yet and neither of us will ever use the phrase “fur baby,” we don’t usually send out cards. This year, however, we decided we would just share what we’ve been up to in the most applicable way—via a demonstration of the type of thing we do for fun.
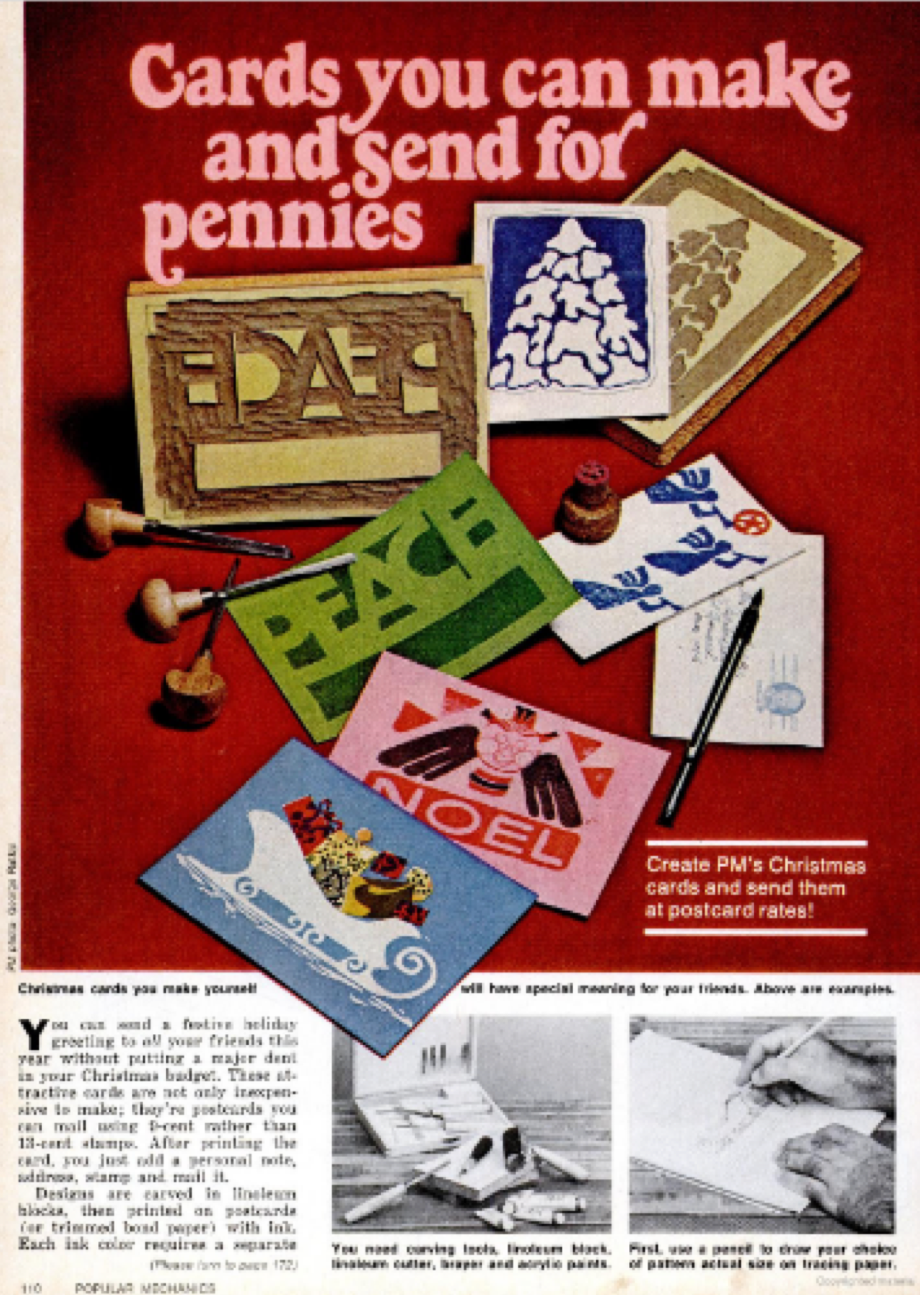
In this case, that meant finding a 40-year-old Popular Mechanics article about lino printing your own Christmas cards, buying a kit from Hobby Lobby, and making postcards.
 Lino Printing becomes much less intimidating when you realize that by “lino” they just mean linoleum that you gouge chunks out of to make a large stamp. The instructions for this process were surprisingly thorough in Popular Mechanics, taking up several pages.
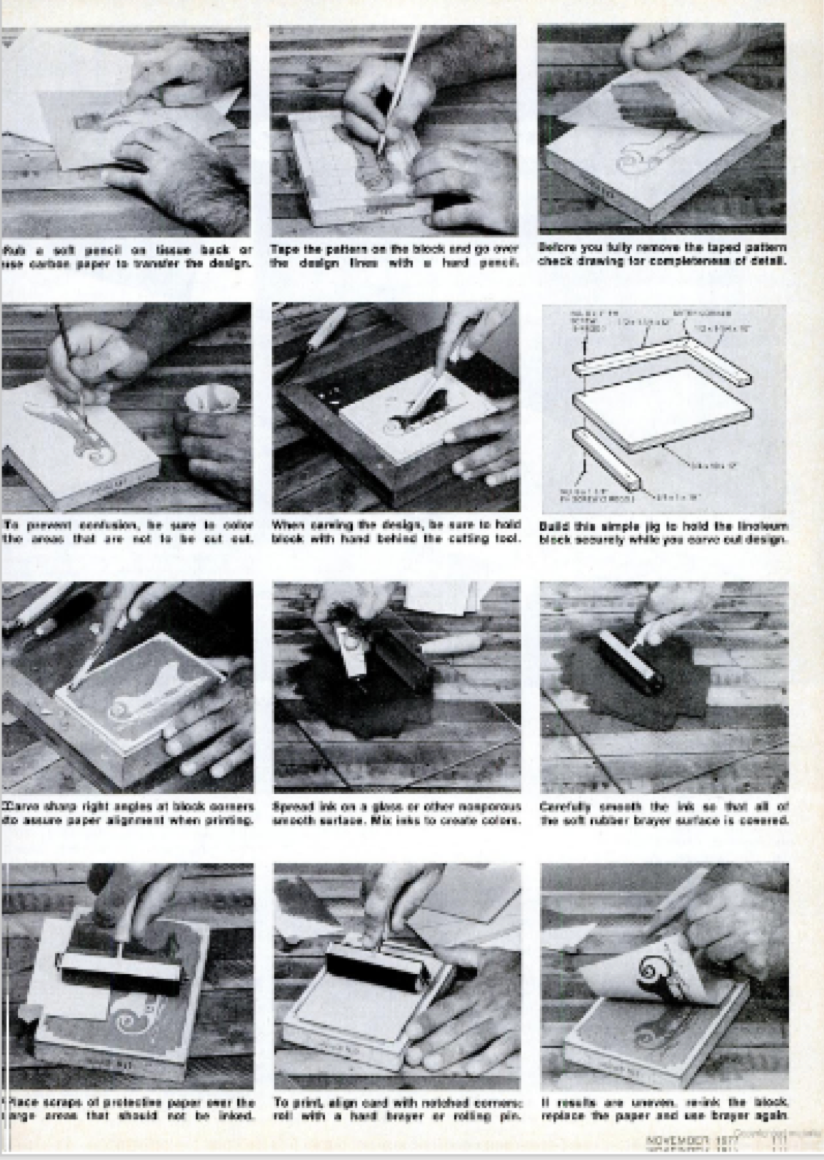
The first thing you’ll need to do is gather your carving tools, linoleum block, cutter, brayer (small roller; this is optional), tracing paper, pencil, and acrylic paint. Then follow these steps:
1. Use a pencil to draw a full-size image of your pattern on tracing paper.
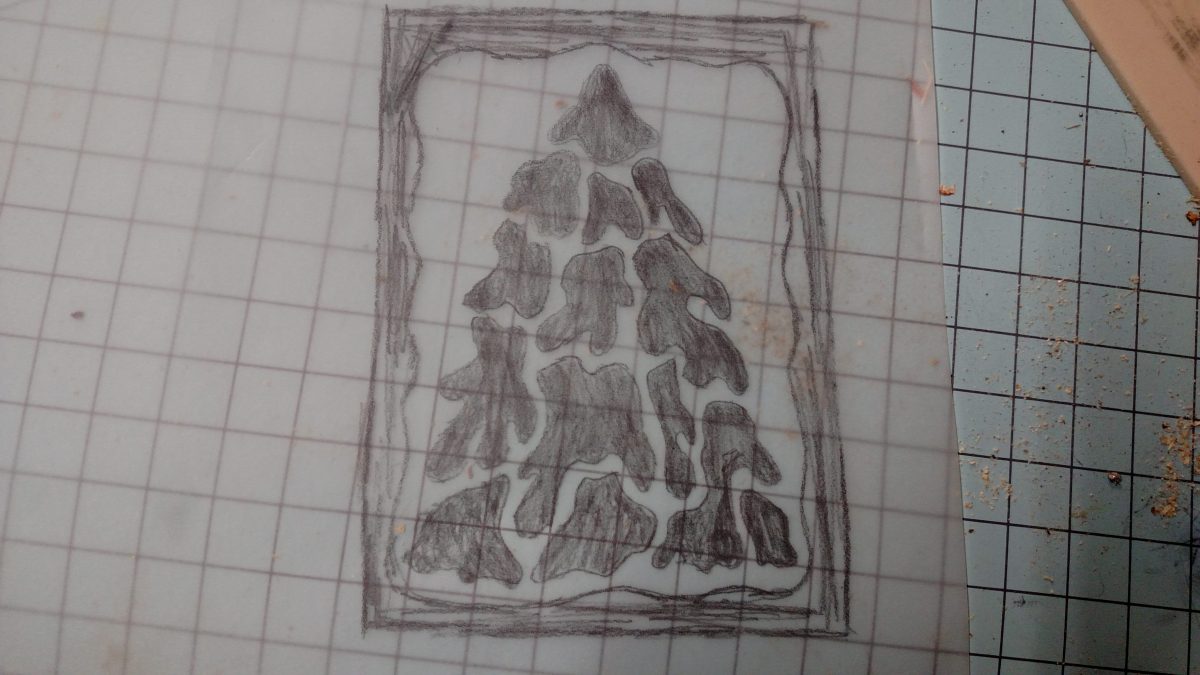
2. Turn the tracing paper over onto the linoleum and rub the back of the paper using a pencil to transfer. You can also go over the major design lines with a hard pencil for precision. Lift up a corner of the paper to check for complete transfer before removing entirely.

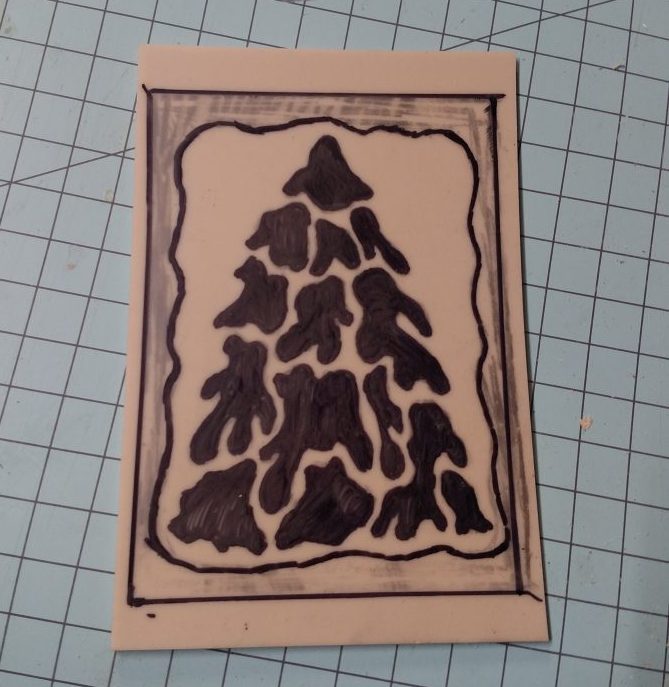
3. Use a sharpie or other dark ink pen to define the pattern. You can decide whether to color in the parts that will be cut out or the parts that will remain, just be sure to be consistent.
4. Carve out the design. Don’t cut yourself (see Boy Scouts of America Totin’ Chip requirements for helpful tips). Gordon says this is one of the most fun things to carve he’s ever experienced, and he’s carved all sorts of things. So enjoy it. We also glued the block to a small cutting board for stability. Your block may already come that way.

5. Ink the cards. PM goes into detail about the method where you pour paint into a tray, roll the brayer in it, transfer to the block, and then lay the paper on the block. We tried this. It was fun. It ended up being much easier and more consistent to buy an ink pad and just ink the block like the giant stamp it is. Allow the cards to dry thoroughly after printing.

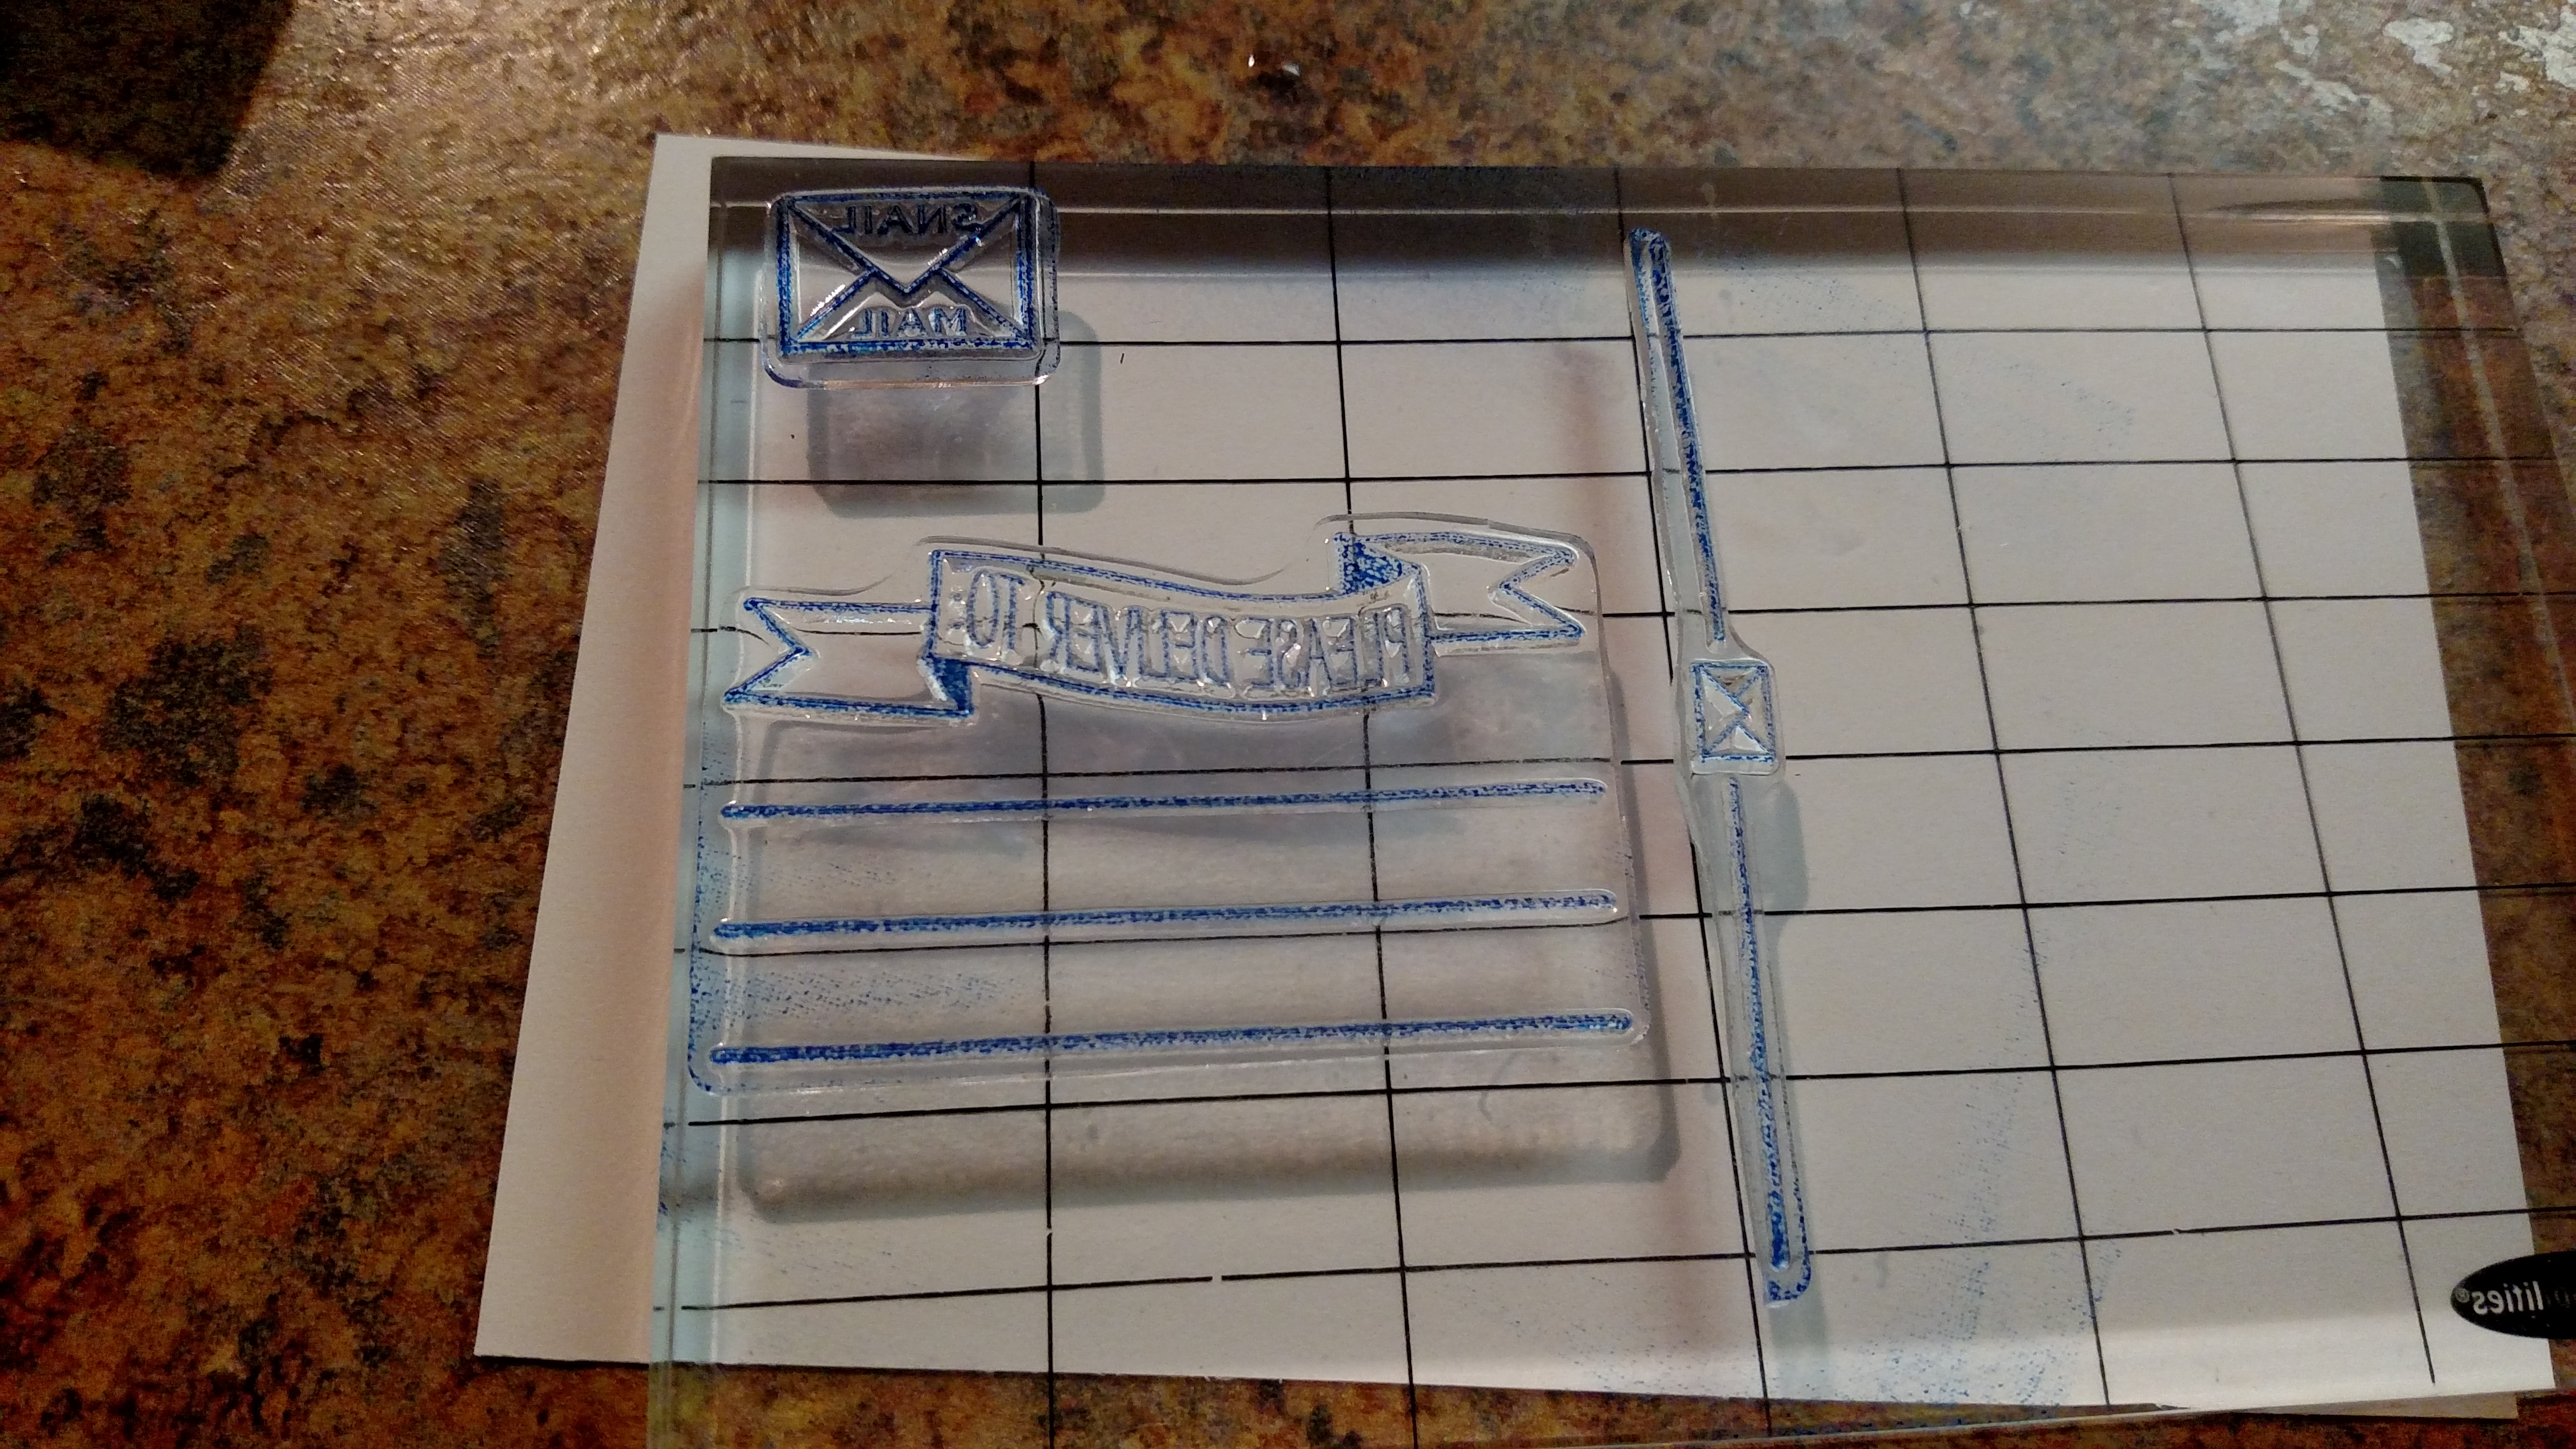
6. Add a personal message, address, and send to everyone you know. Because we are apparently anti-social, we didn’t even need to spend that much on postage (though it is admittedly more than the nine cents Popular Mechanics promised). If you turn the card into a post card, you get even cheaper postage, and everyone loves postcards. We bought a stamp set at Hobby Lobby to print postcard lines on the back.
So here you go, handprinted cards:

Here’s the verdict on this PM project:
Exactness of Instructions: 10/10
Not only do they go into extreme detail on the method they used, they also brought up alternate methods and provided many patterns to choose from. This is great for people on the non-artistic spectrum.
Ease of Build: 8/10
The whole thing was really fun. You just have to take your time, because the first “oops” past the tracing paper step ruins your project. It’s bad news. Do some practicing before you commit.
Relevance: 7/10
Christmas cards aren’t really that expensive to begin with, especially since laser printers now exist. But it does make the cards more personal and gives you something to do when you’re feeling crafty. And block printing is still a thing. So we’re giving it a solid seven regardless of what all you computer-loving laser-printing “fur-baby-having” people think.
Merry Christmas! If you want a hand-carved and lovingly printed card from our family to yours, let me know.
