 We wanted an easy project to test out the DIY blacksmith forge Gordon built at the cabin last weekend, and this dutch oven stand seemed perfect. We had seen similar stands at several mountain man rendezvous and really liked the idea. This stand is easily portable and makes cooking with a dutch oven over an open fire easier. It also gives us more control over the heat under the oven because we can adjust the height.
If you don’t have a forge, you could probably do this by heating up the rods with a torch, but it would require more pounding and muscle to bend the rods the way you want them.
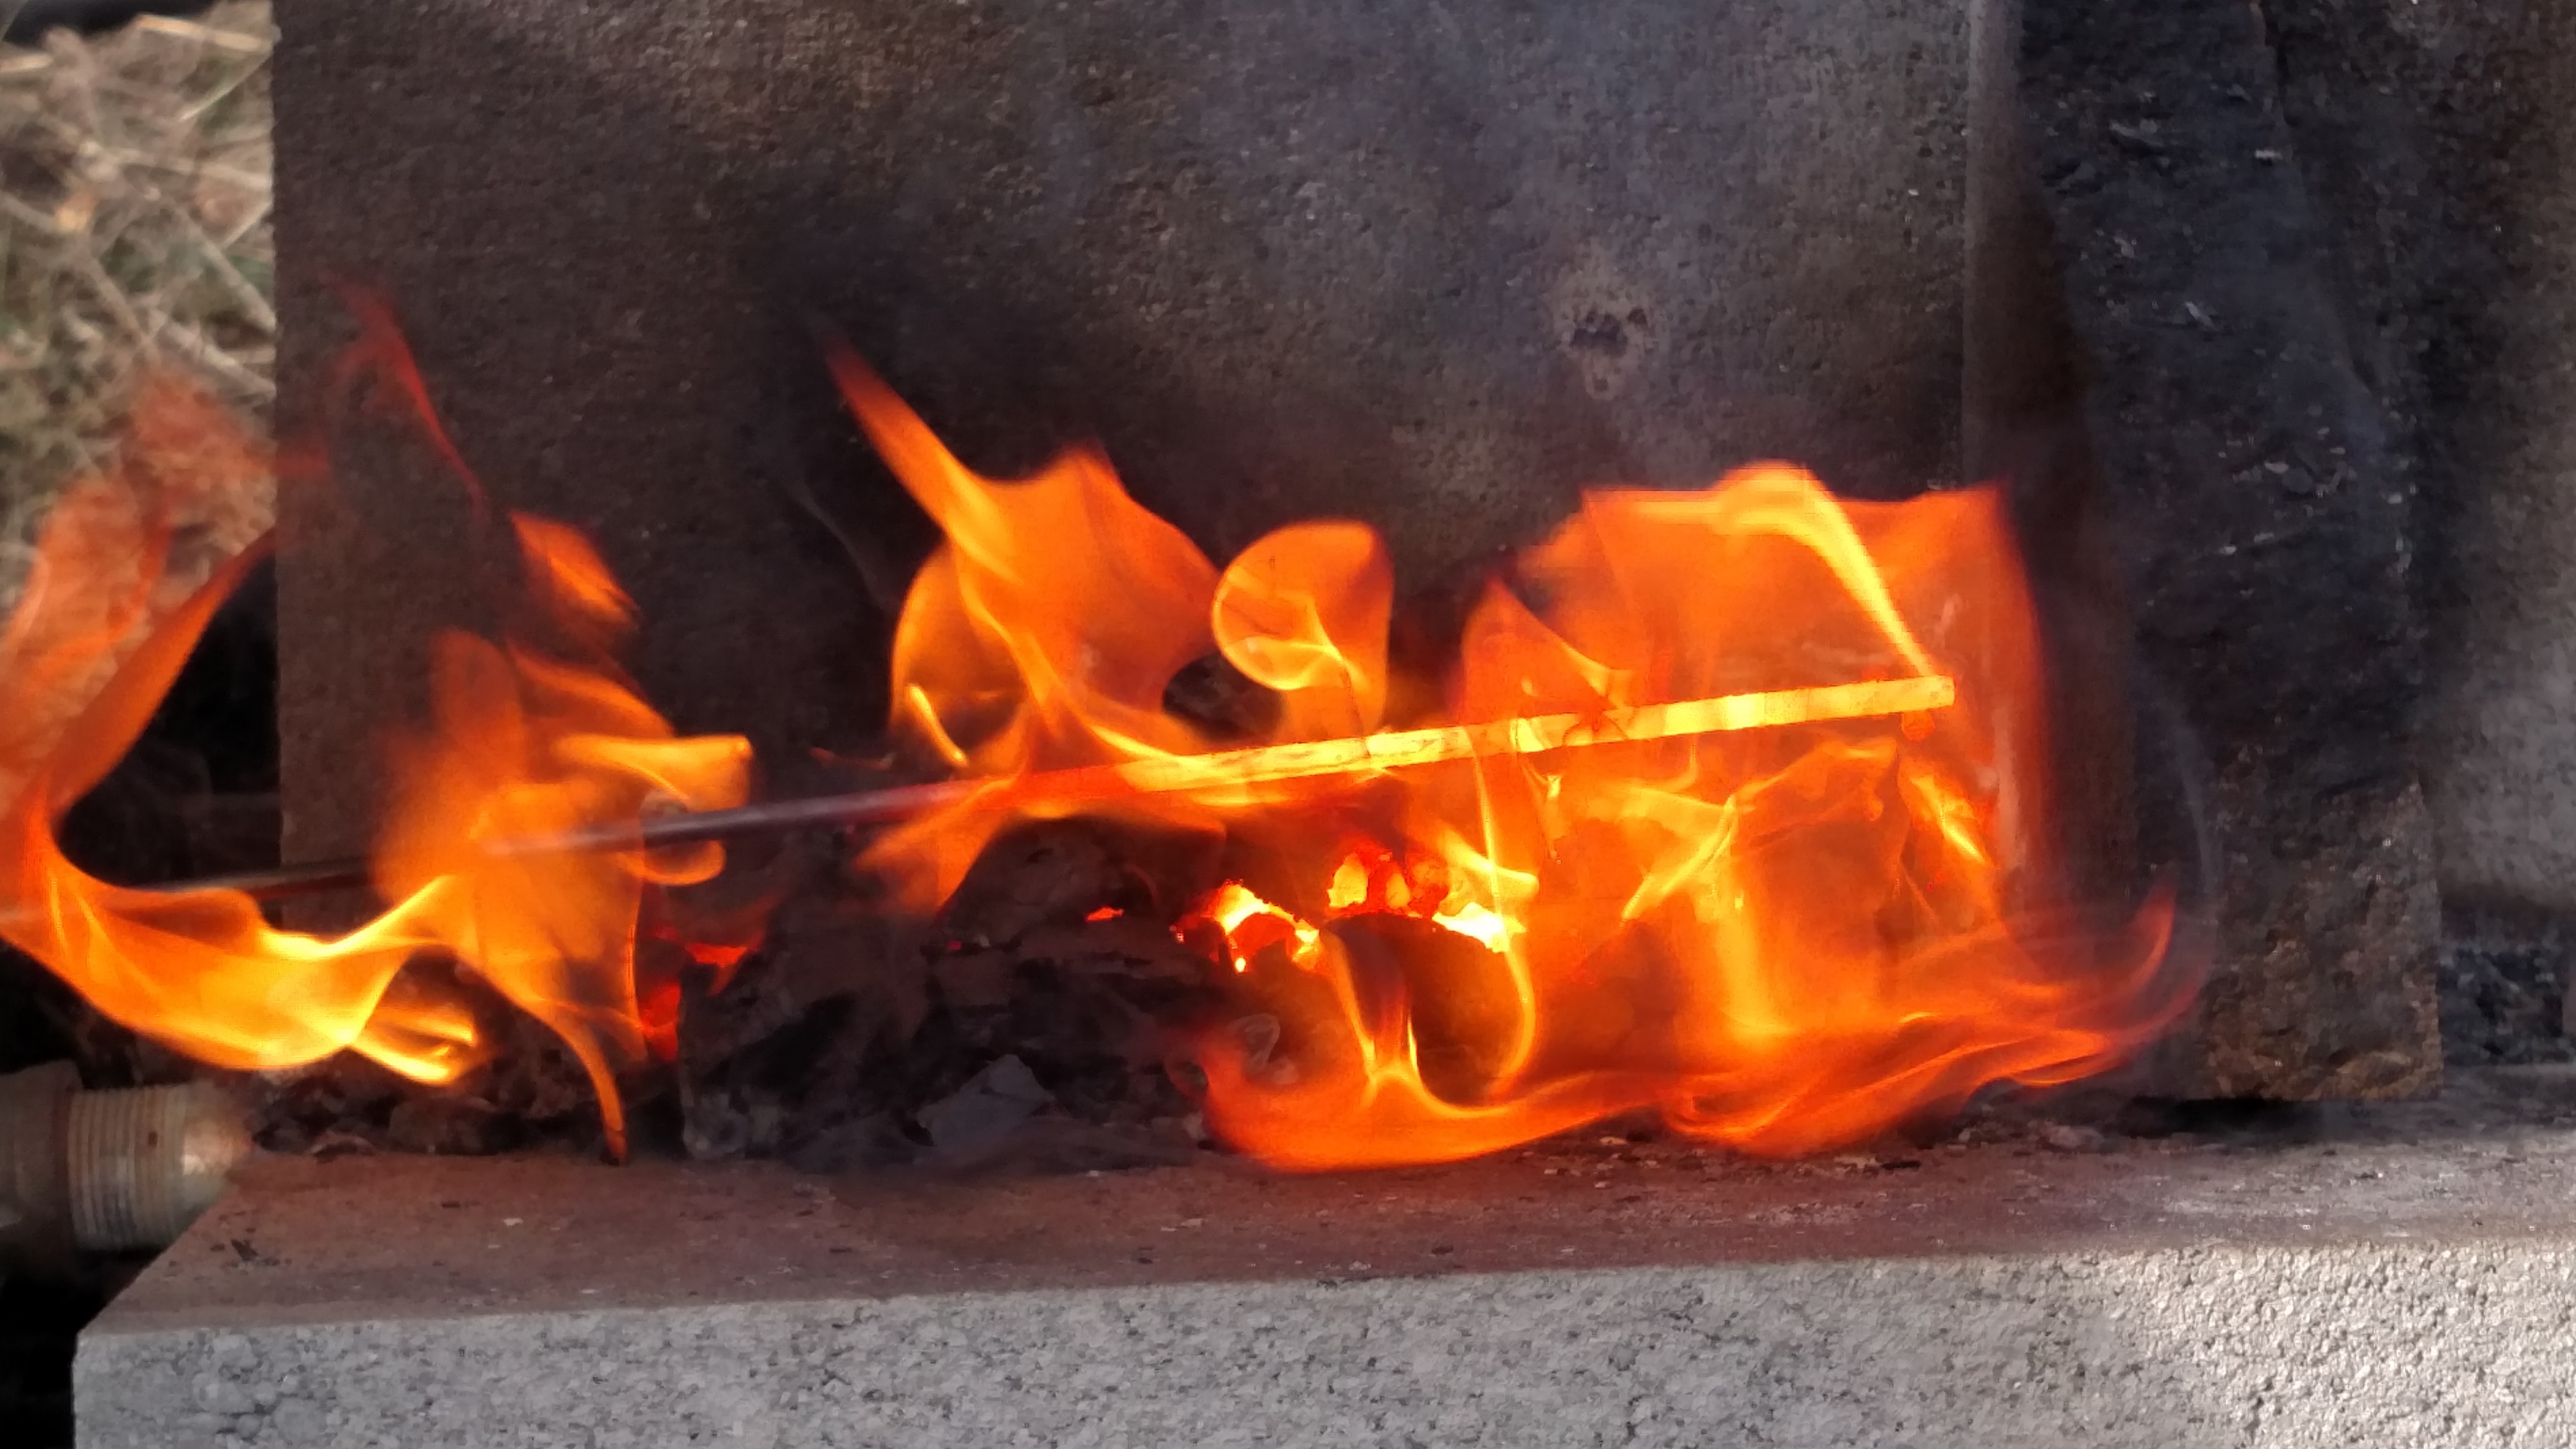 Our setup included the forge to heat the metal, an anvil secured to a stump for hammering, and a rod next to rebar for bending the s-hook and rods.
The goal is to make a loop in the end of each of three rods. Ours were 36 inches long. These loops will all be interconnected, so leave the loops slightly open when you initially bend them.
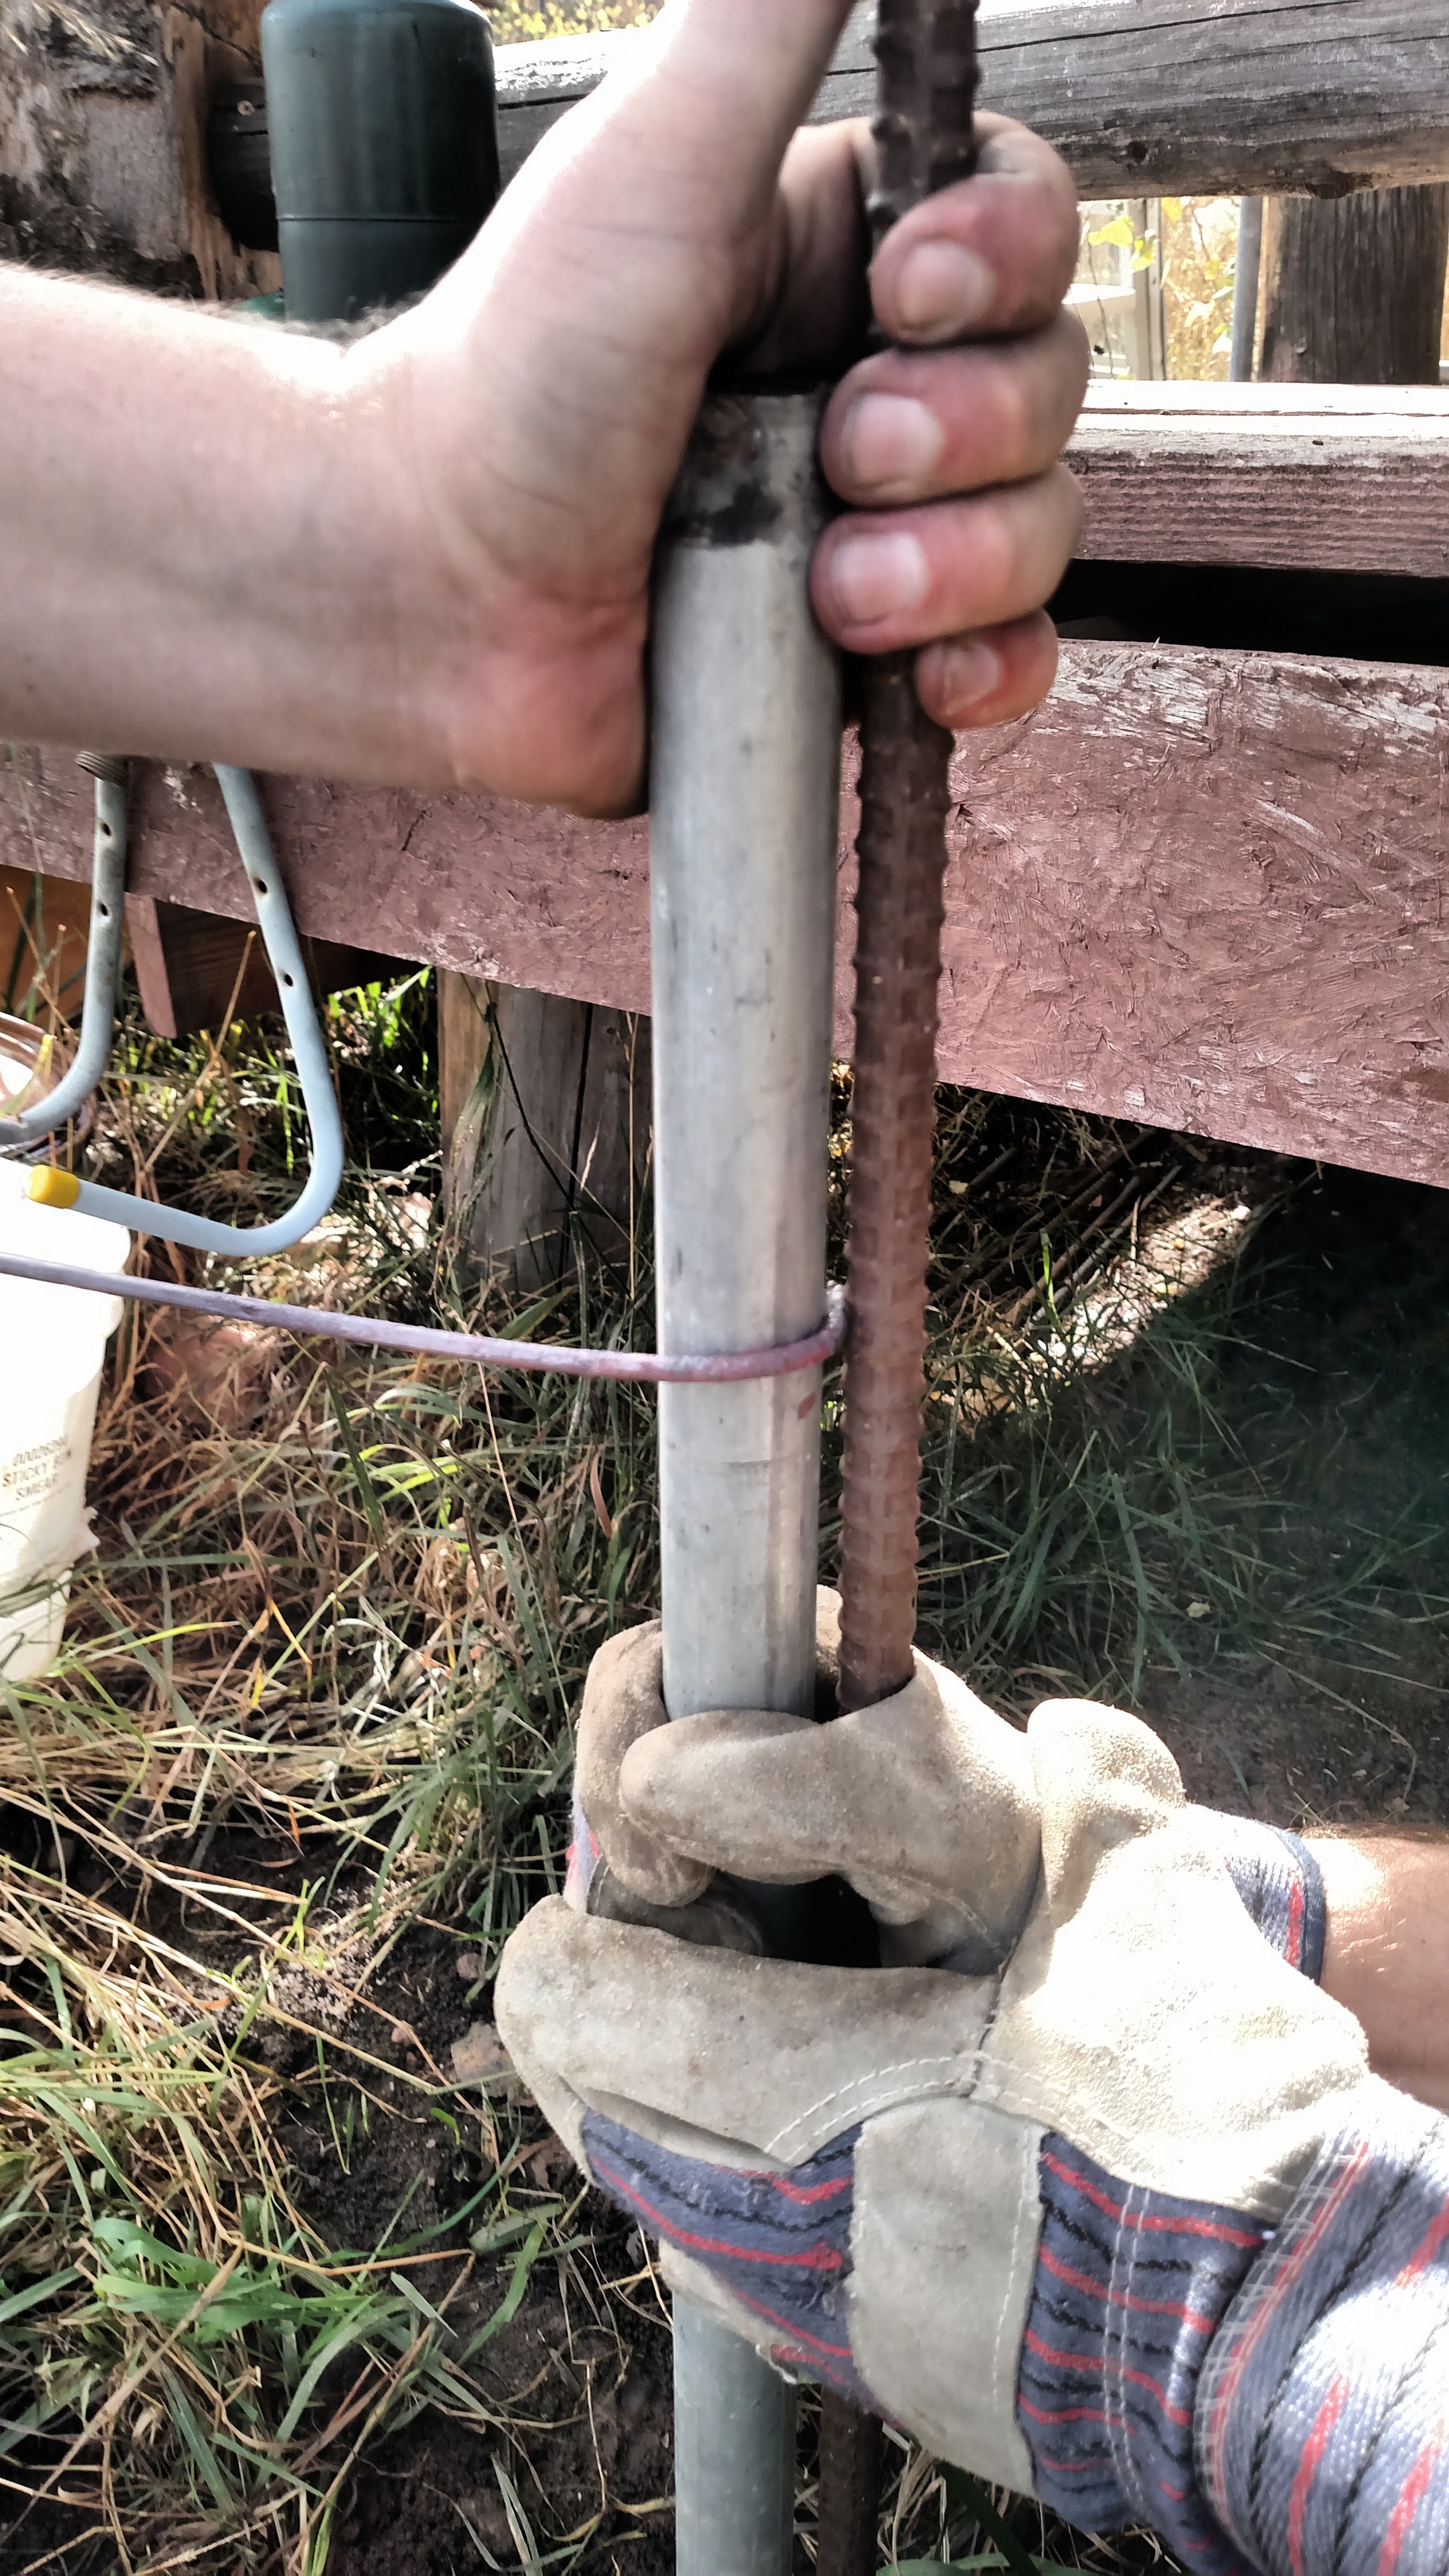 Once the end of the rod is hot, you can use pliers to bend the loop or use a pipe setup like we did. I set up the pipe and rebar close enough to squeeze them together to hold the rod in place while Gordon bent it. Try to make your three loops as similarly sized and shaped as possible.
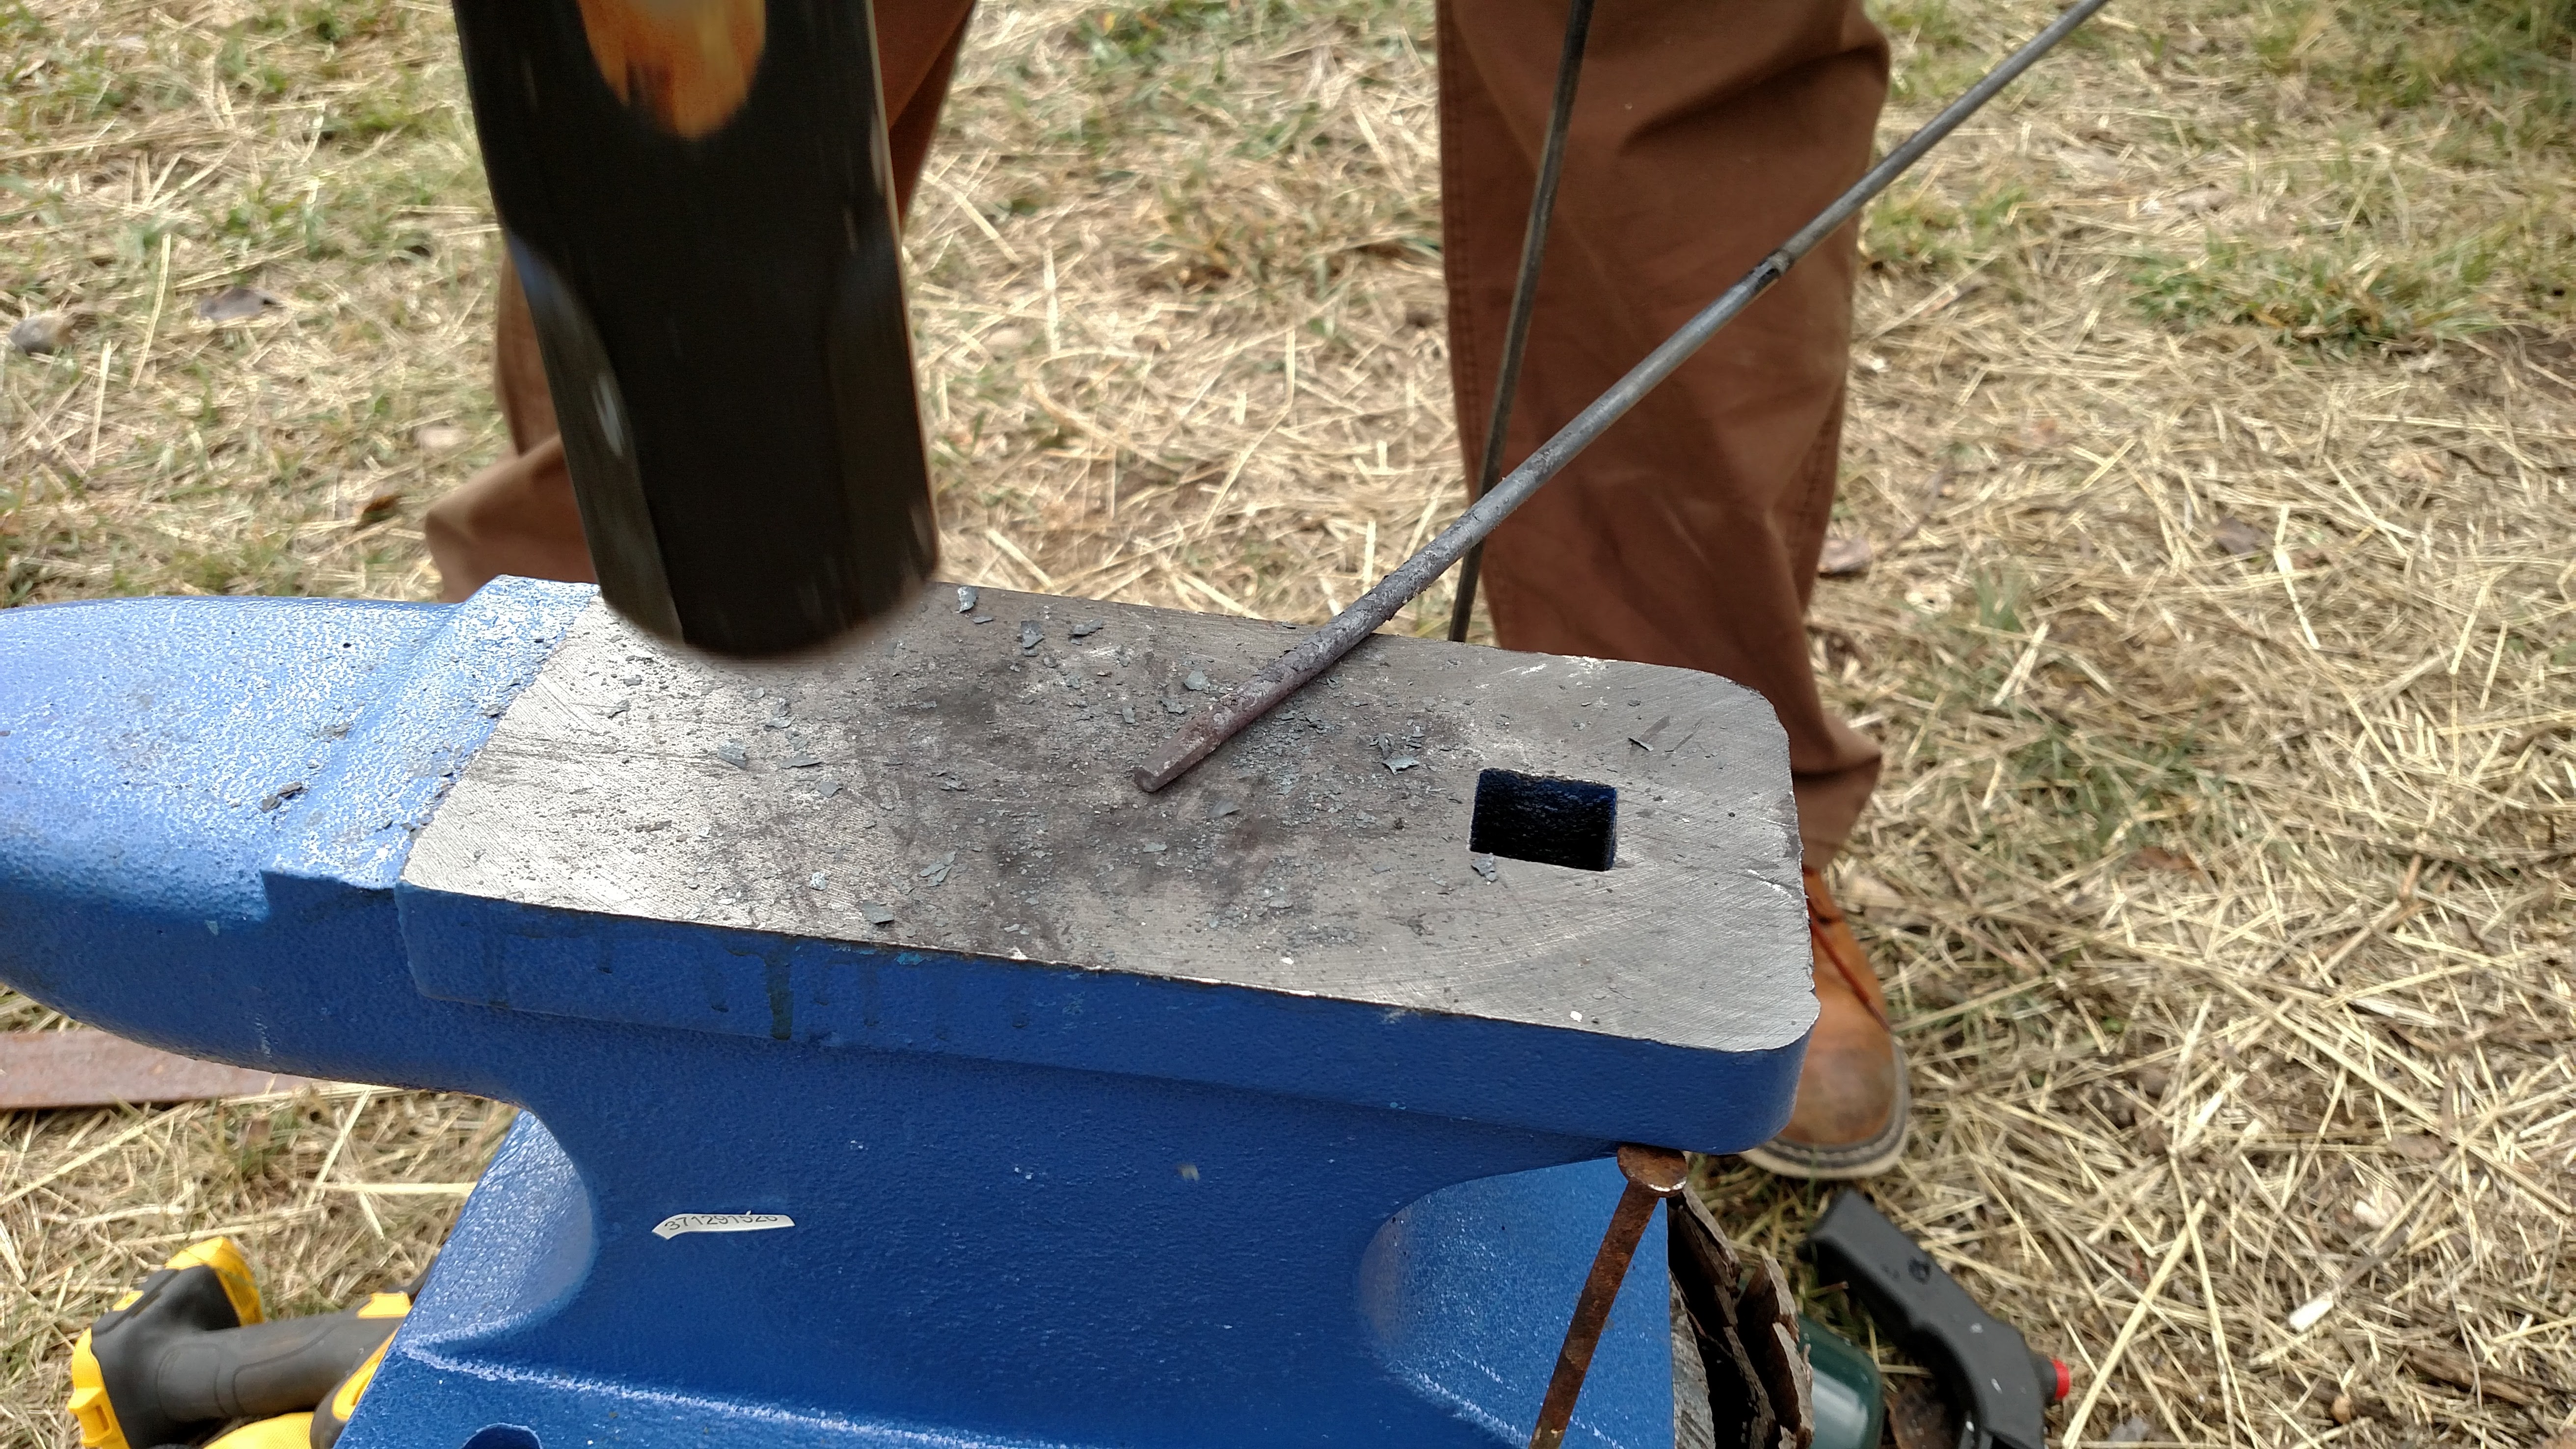
On the other end of each rod, you’ll want to pound the metal down to make a spike so you can more easily stake it into the ground when necessary. You can do this quickly on an anvil with a hammer.
 Once you have the rods done, bend a smaller piece of rod so it has a loop on one end and an open loop on the other for the dutch oven to hang from. This will hang down between the three legs and hold the dutch oven. You can make this whatever length you want, or make several so you can adjust the height of the dutch oven more freely.
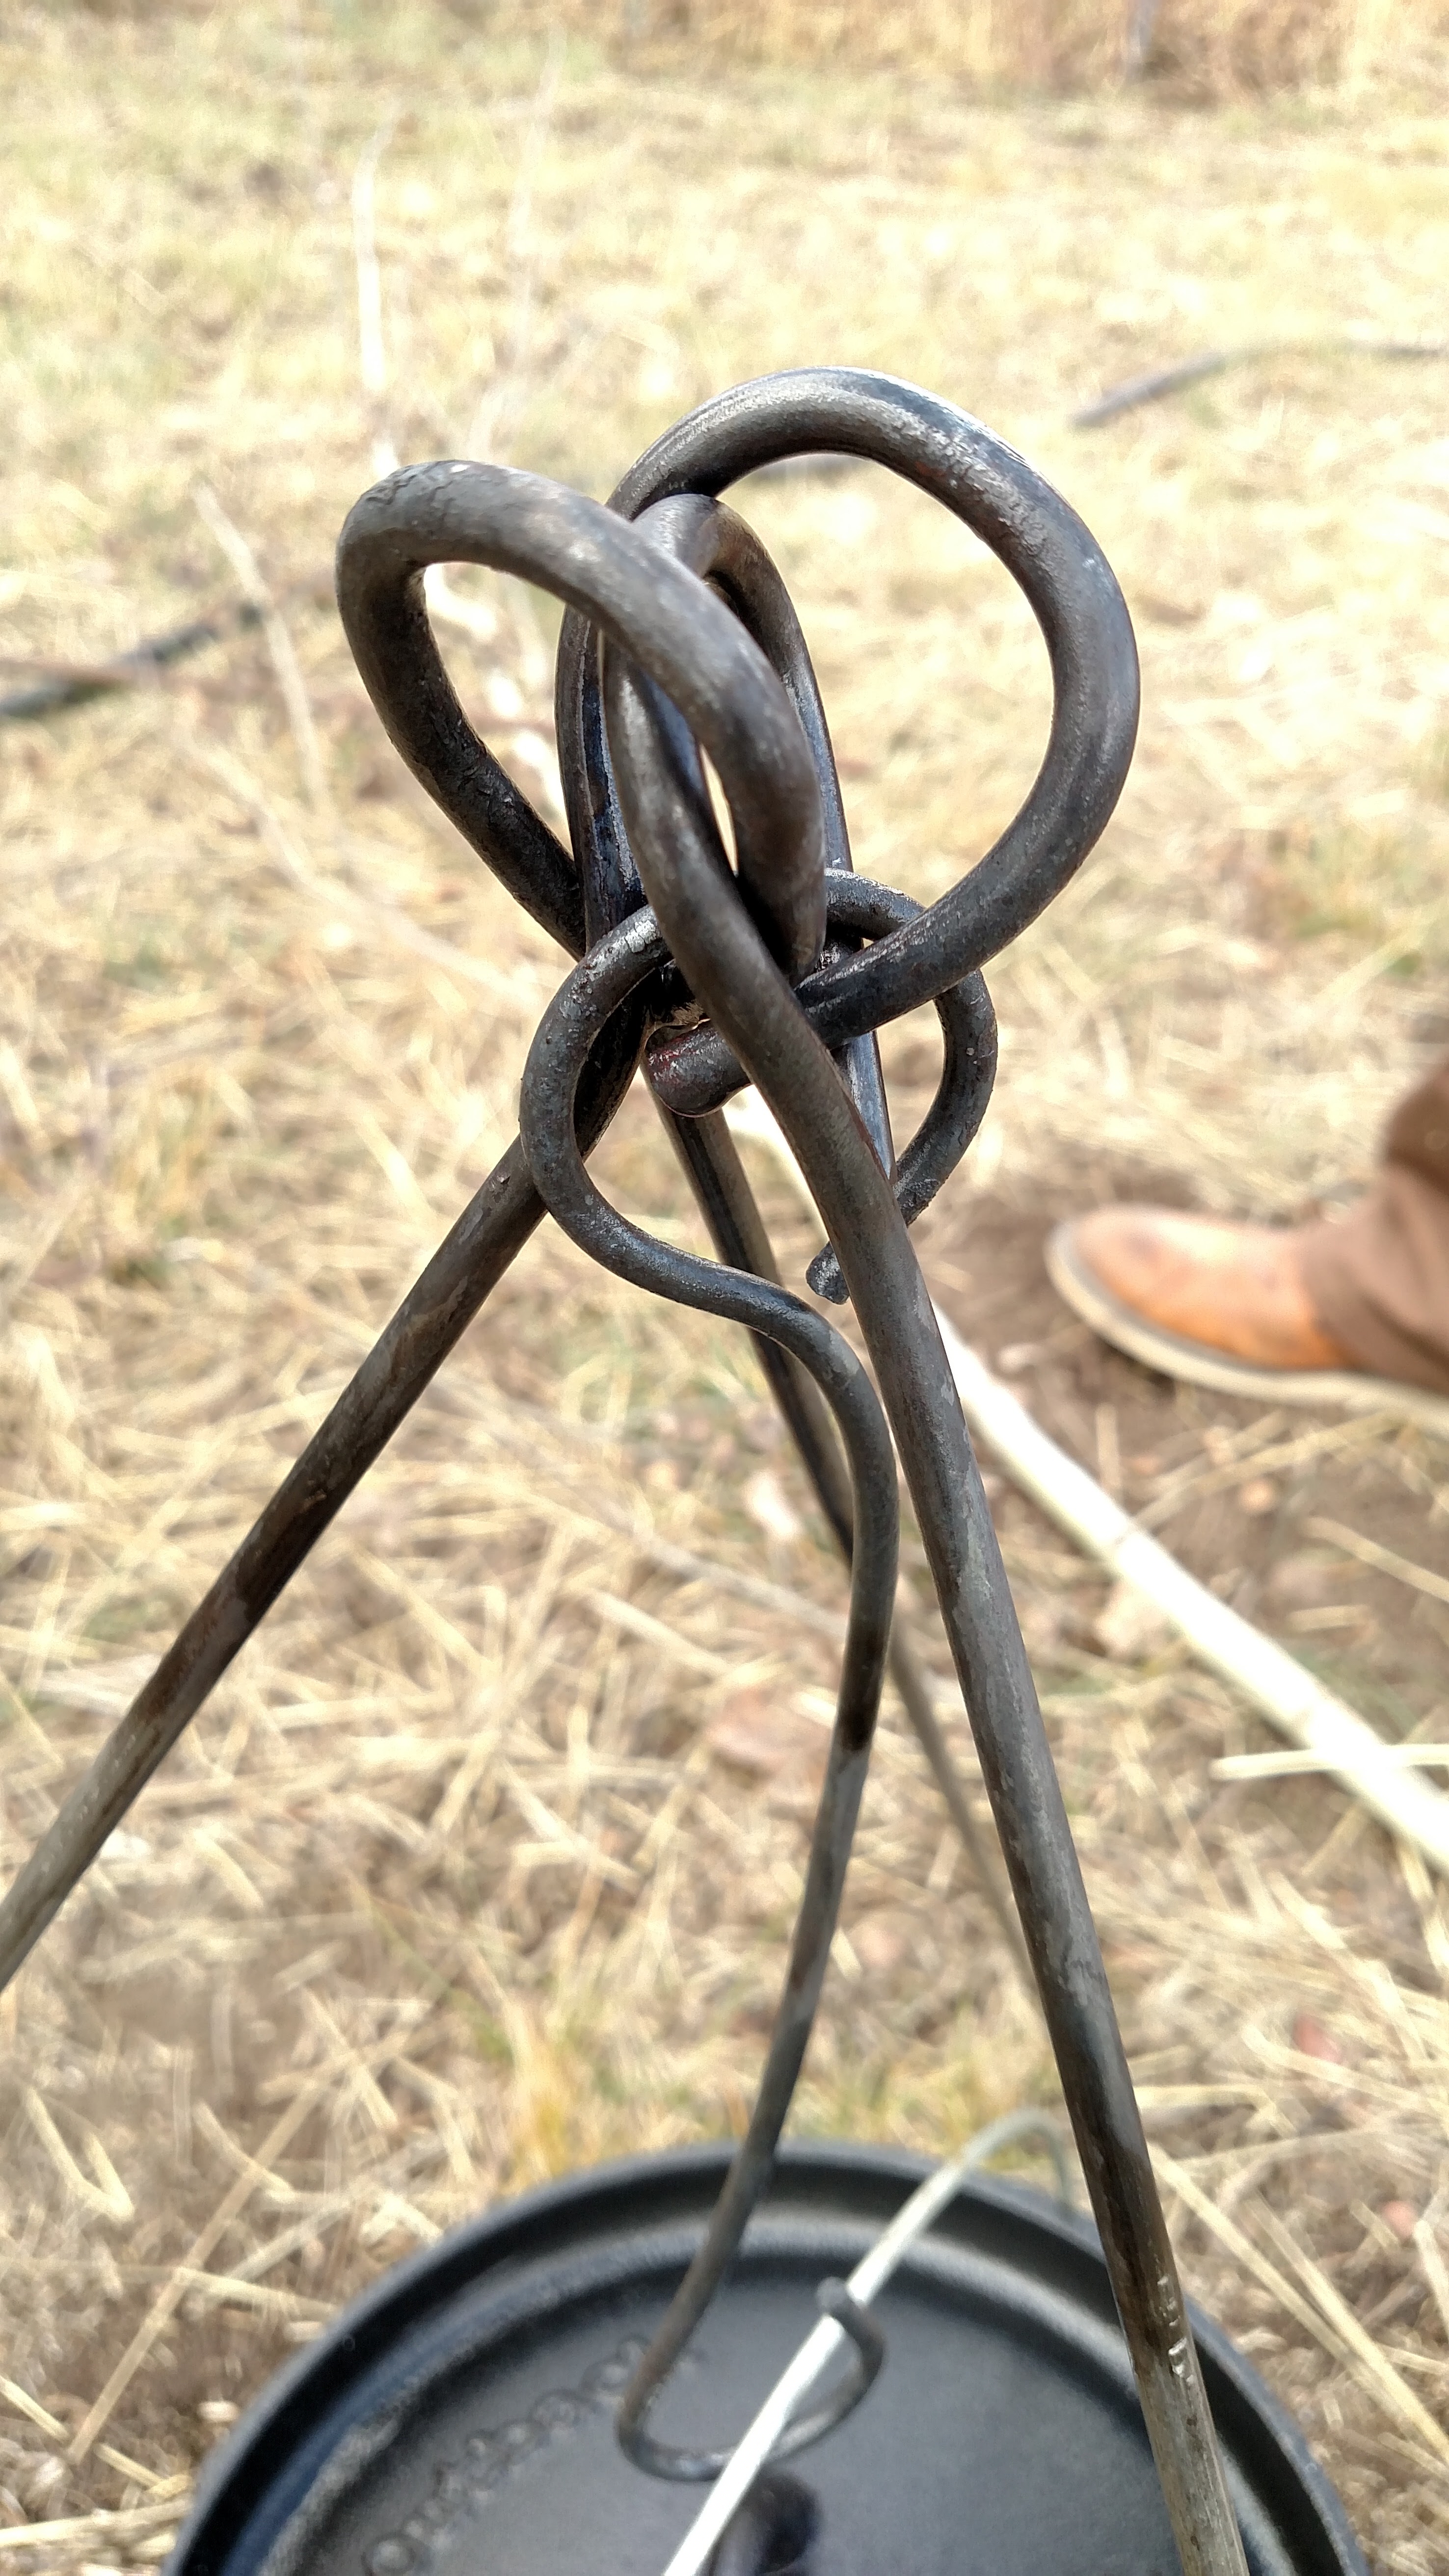 When all your loops are complete, connect them together and then close the loops. If they don’t bend, you may need to reheat them.
That’s it! The whole thing is really sturdy and the loops work great to hold everything together and hold the dutch oven up. The legs can be adjusted to different angles to raise and lower the oven and adjust for the campfire or coals you’re using.
This was a great way to break in our homemade forge, and we were pleased with how uniform the legs turned out. Now to make something in the dutch oven . . .

Pingback: Backyard Blacksmithing | Mountain Man Living
Pingback: Iron Horse Cook-Off in Ely | Mountain Man Living