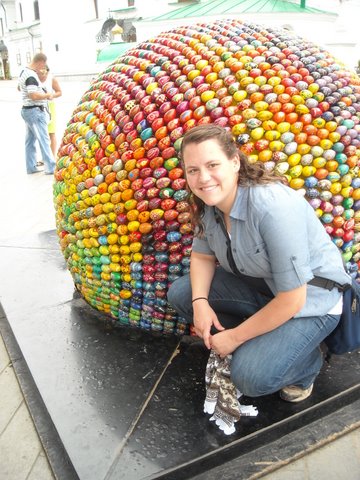
Pysanky sculpture in downtown Kyiv
If you’re ever in Eastern Europe around Orthodox Easter, you should stop by Kyiv, Ukraine for the festivities. The whole city is full of flowers, people wear their traditional embroidered shirts, and everywhere you look you see pysanky (Easter eggs) and Easter bread (honestly, you should go to Ukraine for the bread alone). I have always wanted to make pysanky, but they seemed so much more difficult than the typical American version with stickers and cheap tablet dye.
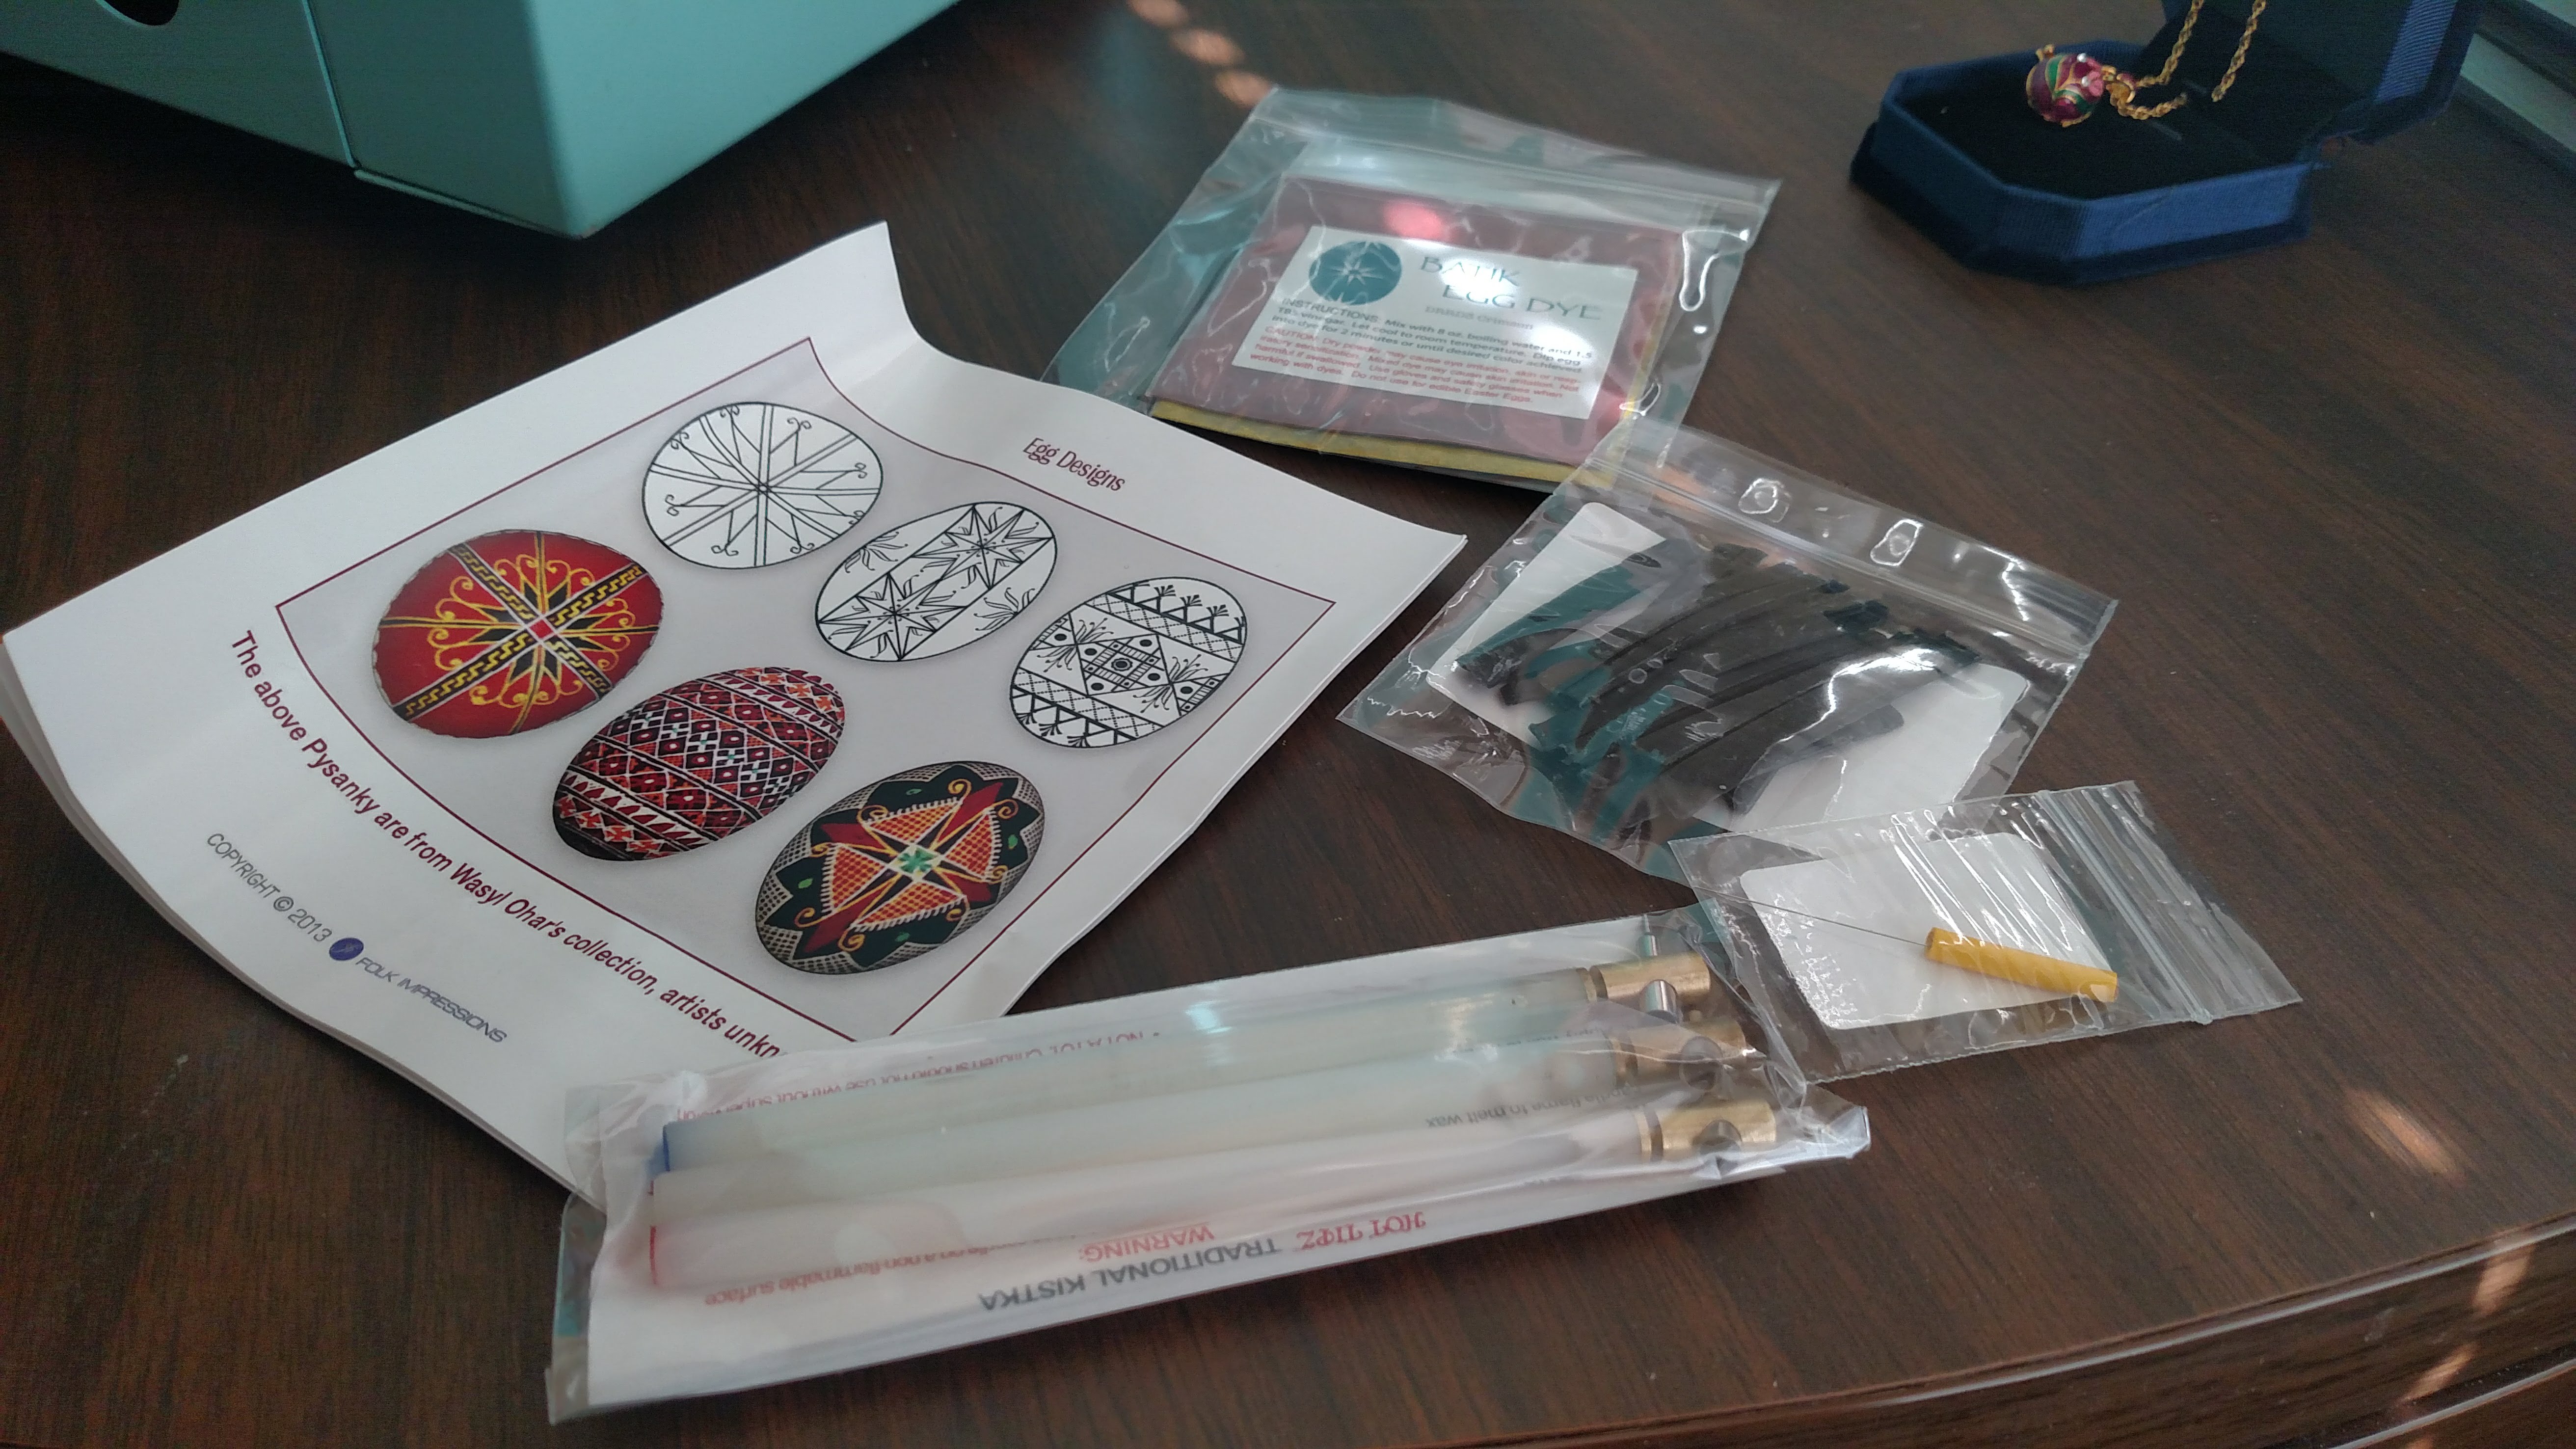
This year, we decided to go for it. Gordon ordered a kit from bestpysanky.com that included the wax pens (kistki), wax, and dye in several different colors.
We are definitely beginners, but we learned some things from our first attempt.
Emptying the Eggs
When you tell people to blow the innards out of an egg, they usually picture someone red in the face, trying to blow through a tiny hole in one end to expel yolk and goop out of a tiny hole on the other end. The trouble with this method is that 1) you may pass out, 2) you have an egg with two holes in it instead of one, which is harder to hide, and 3) you may end up with exploded egg all over your kitchen.
The better method is to make a small hole on the bottom of the egg and use a syringe to blow air into the egg. This forces the liquid out the bottom as the air rises to the top. Hold the egg over a bowl and you can make an omelet when you’re done.
The instructions in the pysanky kit said to rinse the eggs in warm water with dish soap, then in a mix of vinegar and water. Rinse them off, dry them off and you should have residue-free eggs ready to dye.
Making a Pattern
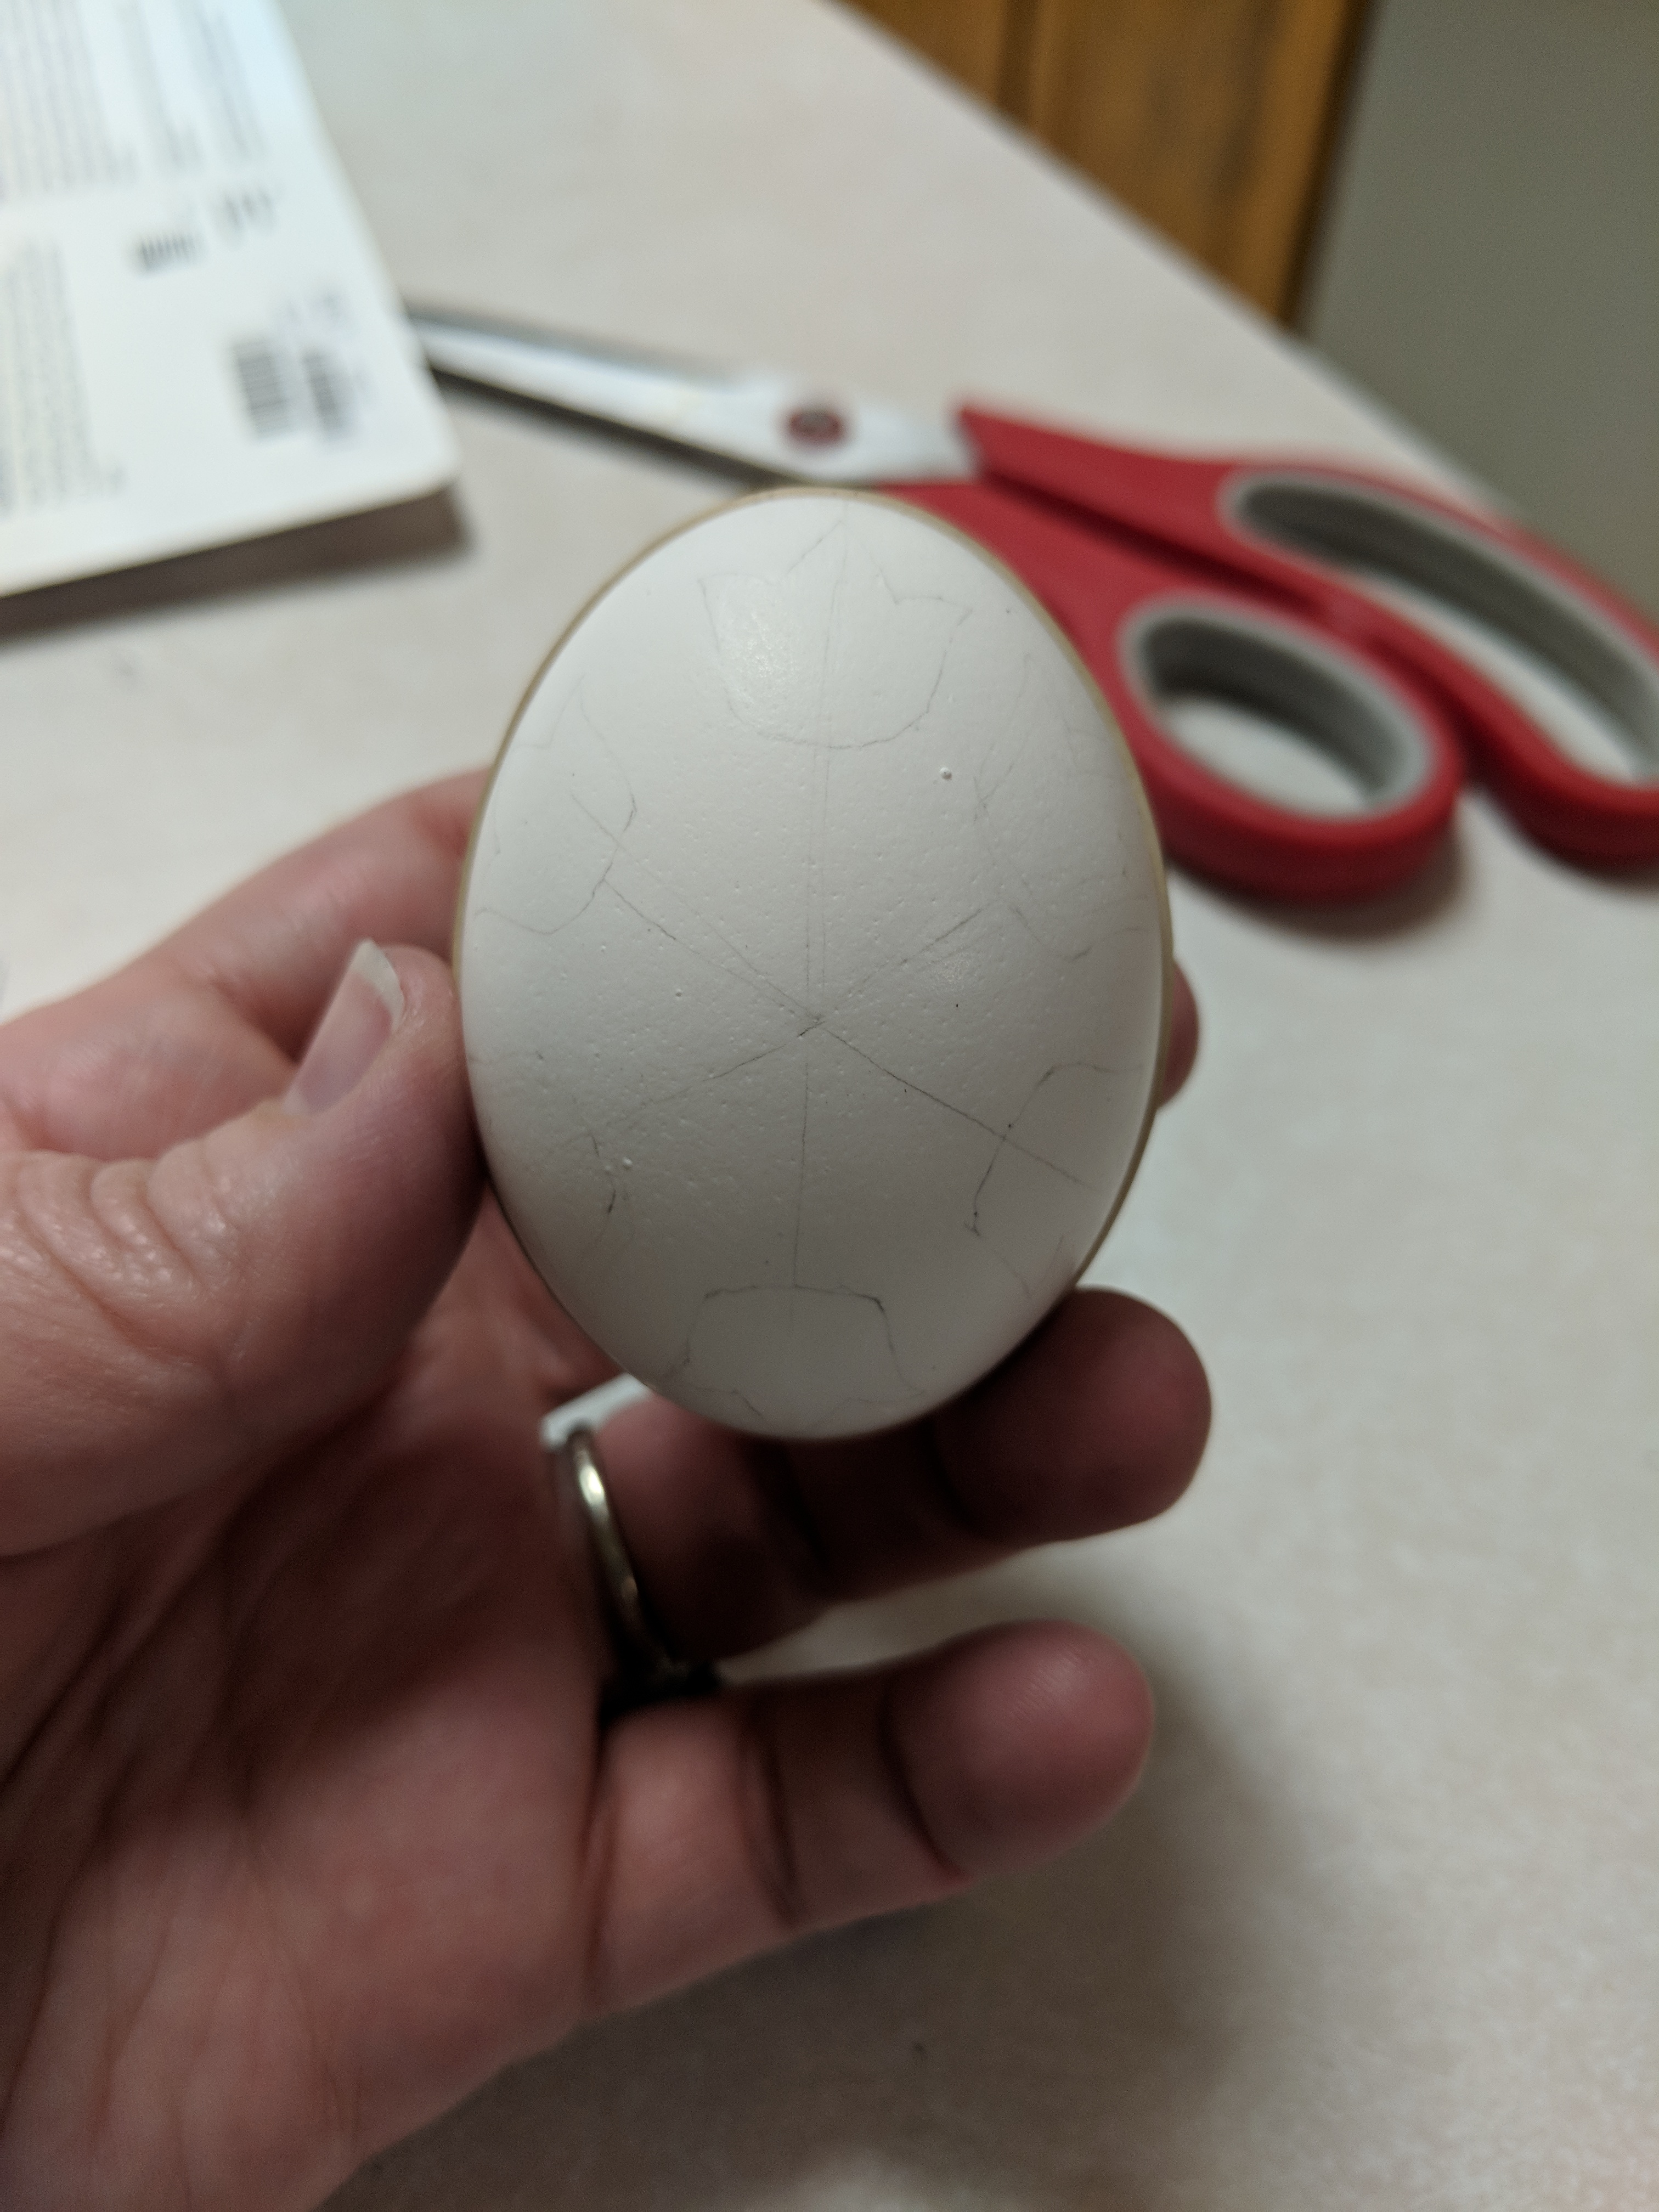 If you search for pysanky patterns on Google or Pinterest, you can find plenty of ideas. If you are doing it for the first time or aren’t terribly confident in your artistic ability, following someone else’s pattern is a good way to start. Draw your pattern lightly with a mechanical pencil. You can use rulers, measuring tape, even an egg lathe if you want it to be perfect. If you’re more excited to get to dyeing, you can also just eyeball it.
We found very quickly that beeswax is the best wax to use. It goes on smoothly and stays on the egg throughout the dying process. The kit came with black beeswax, which made it really easy to see how much you had already finished. Start by putting wax on every line you want to stay white, then add more between each dye color to create your pattern.
Dyeing the Eggs
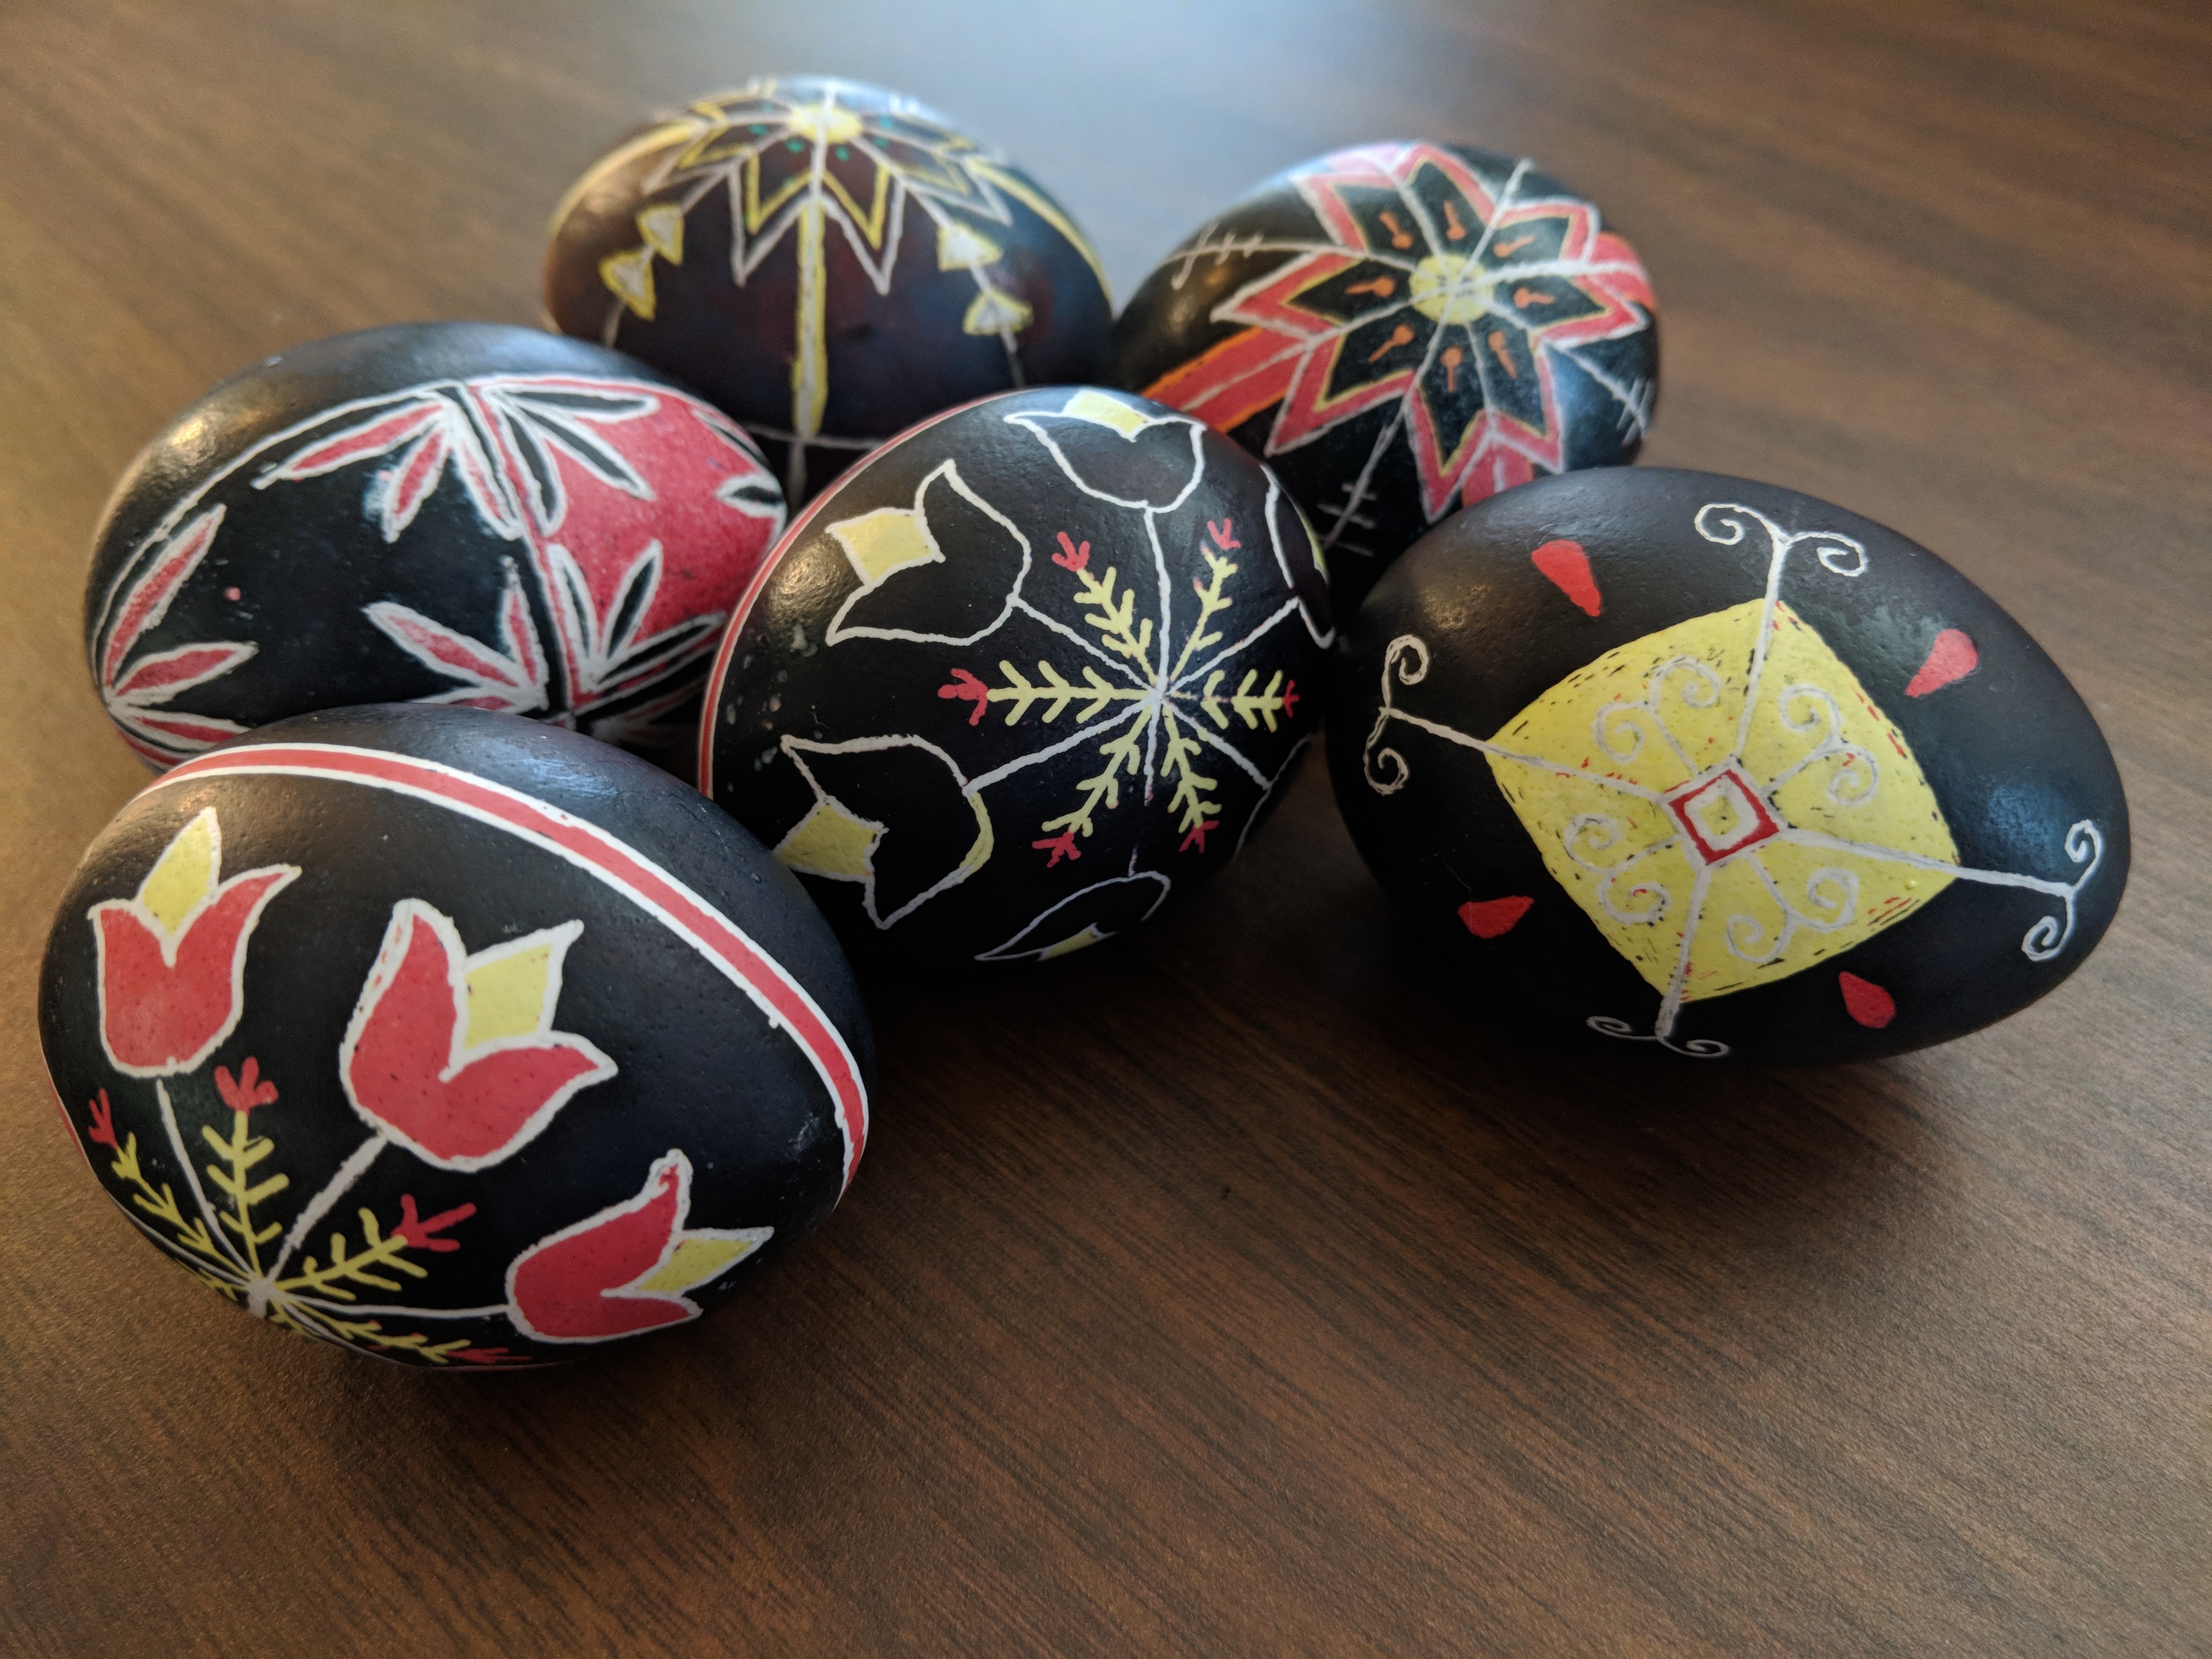
You always want to start with lighter colors and work your way darker. All of our successful eggs so far have been yellow, orange, red, and black. This is partly because they look very Eastern European and I like it, but it is also because the green and blue shades of dye betrayed us.

When Gordon dipped his egg into the green dye, it went on in patches of green and blue that looked more like tie dye than anything else. Even when we added the black at the end, the overall effect was splotchy. So we immediately stopped using green. I’m not sure if it was the specific dye we were using from the kit or if green and blue are just much harder to make consistent, but the rest of the colors went on beautifully.
Here is one egg through all of the colors and dying:
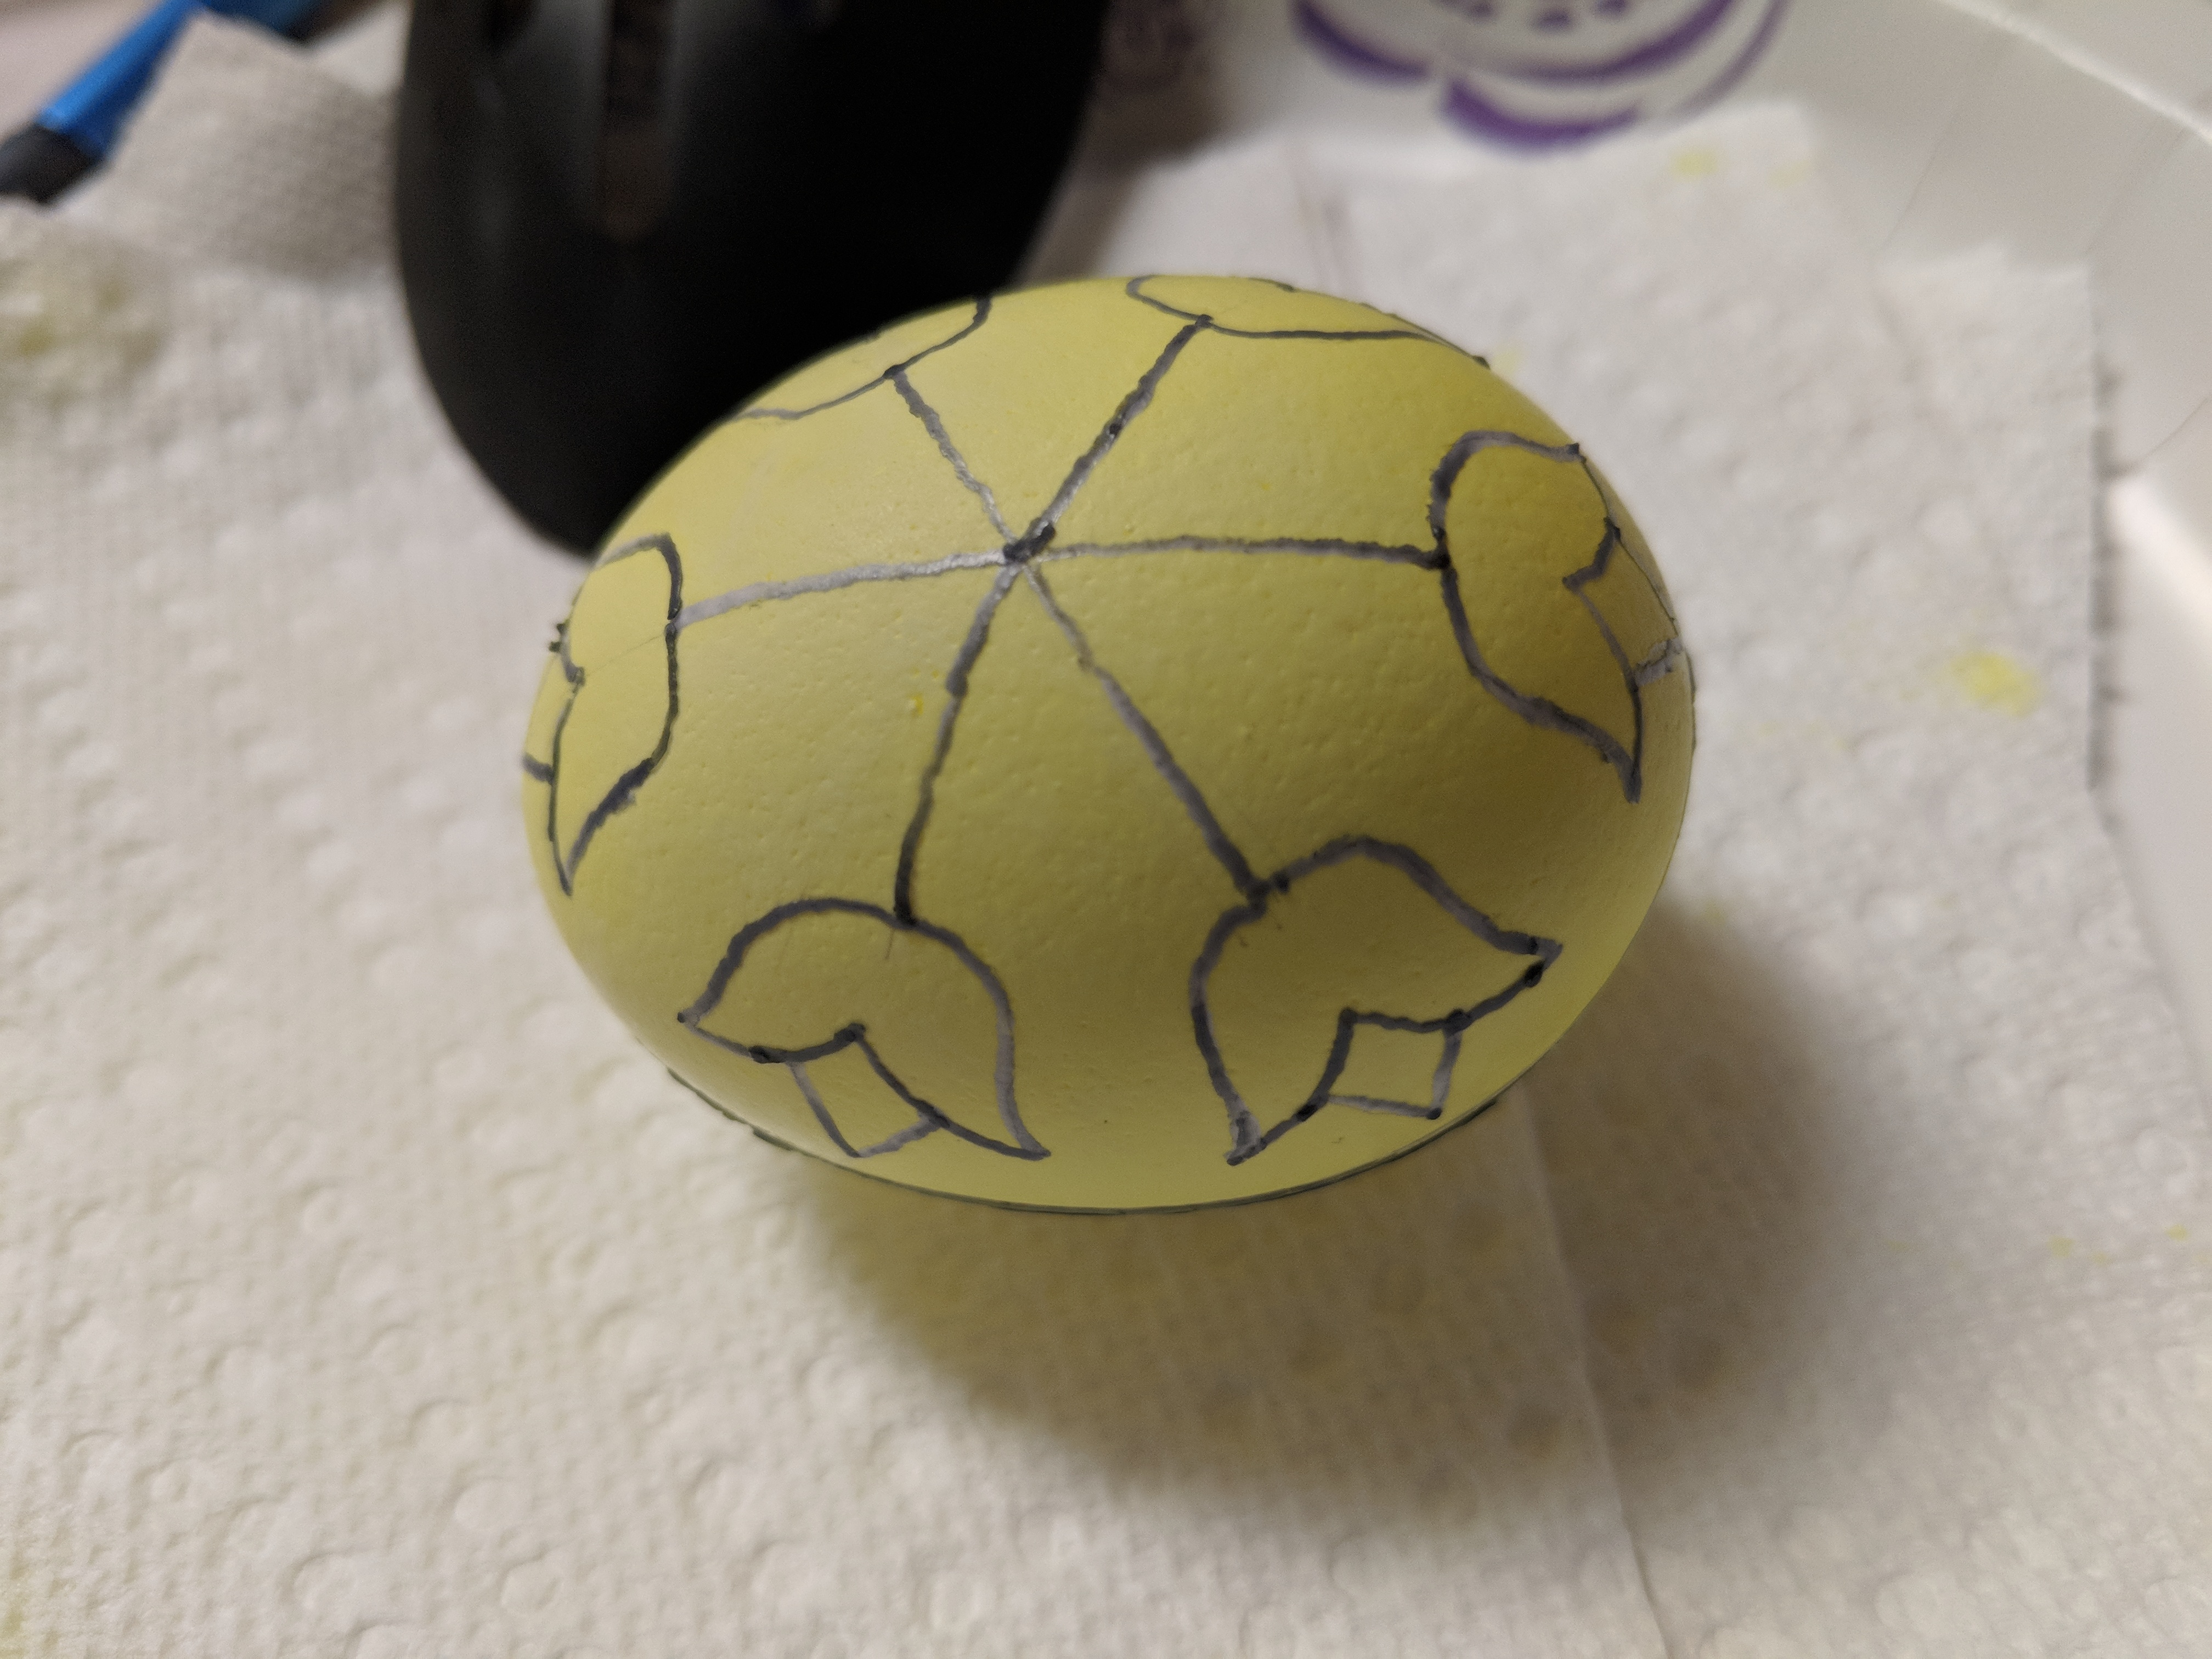
I did not get a picture of the white egg with wax because I was too excited to start dyeing, but all of the black lines were on the egg before I dipped into yellow.

Before I dipped the egg in red, I added wax to all the areas I wanted to stay yellow.
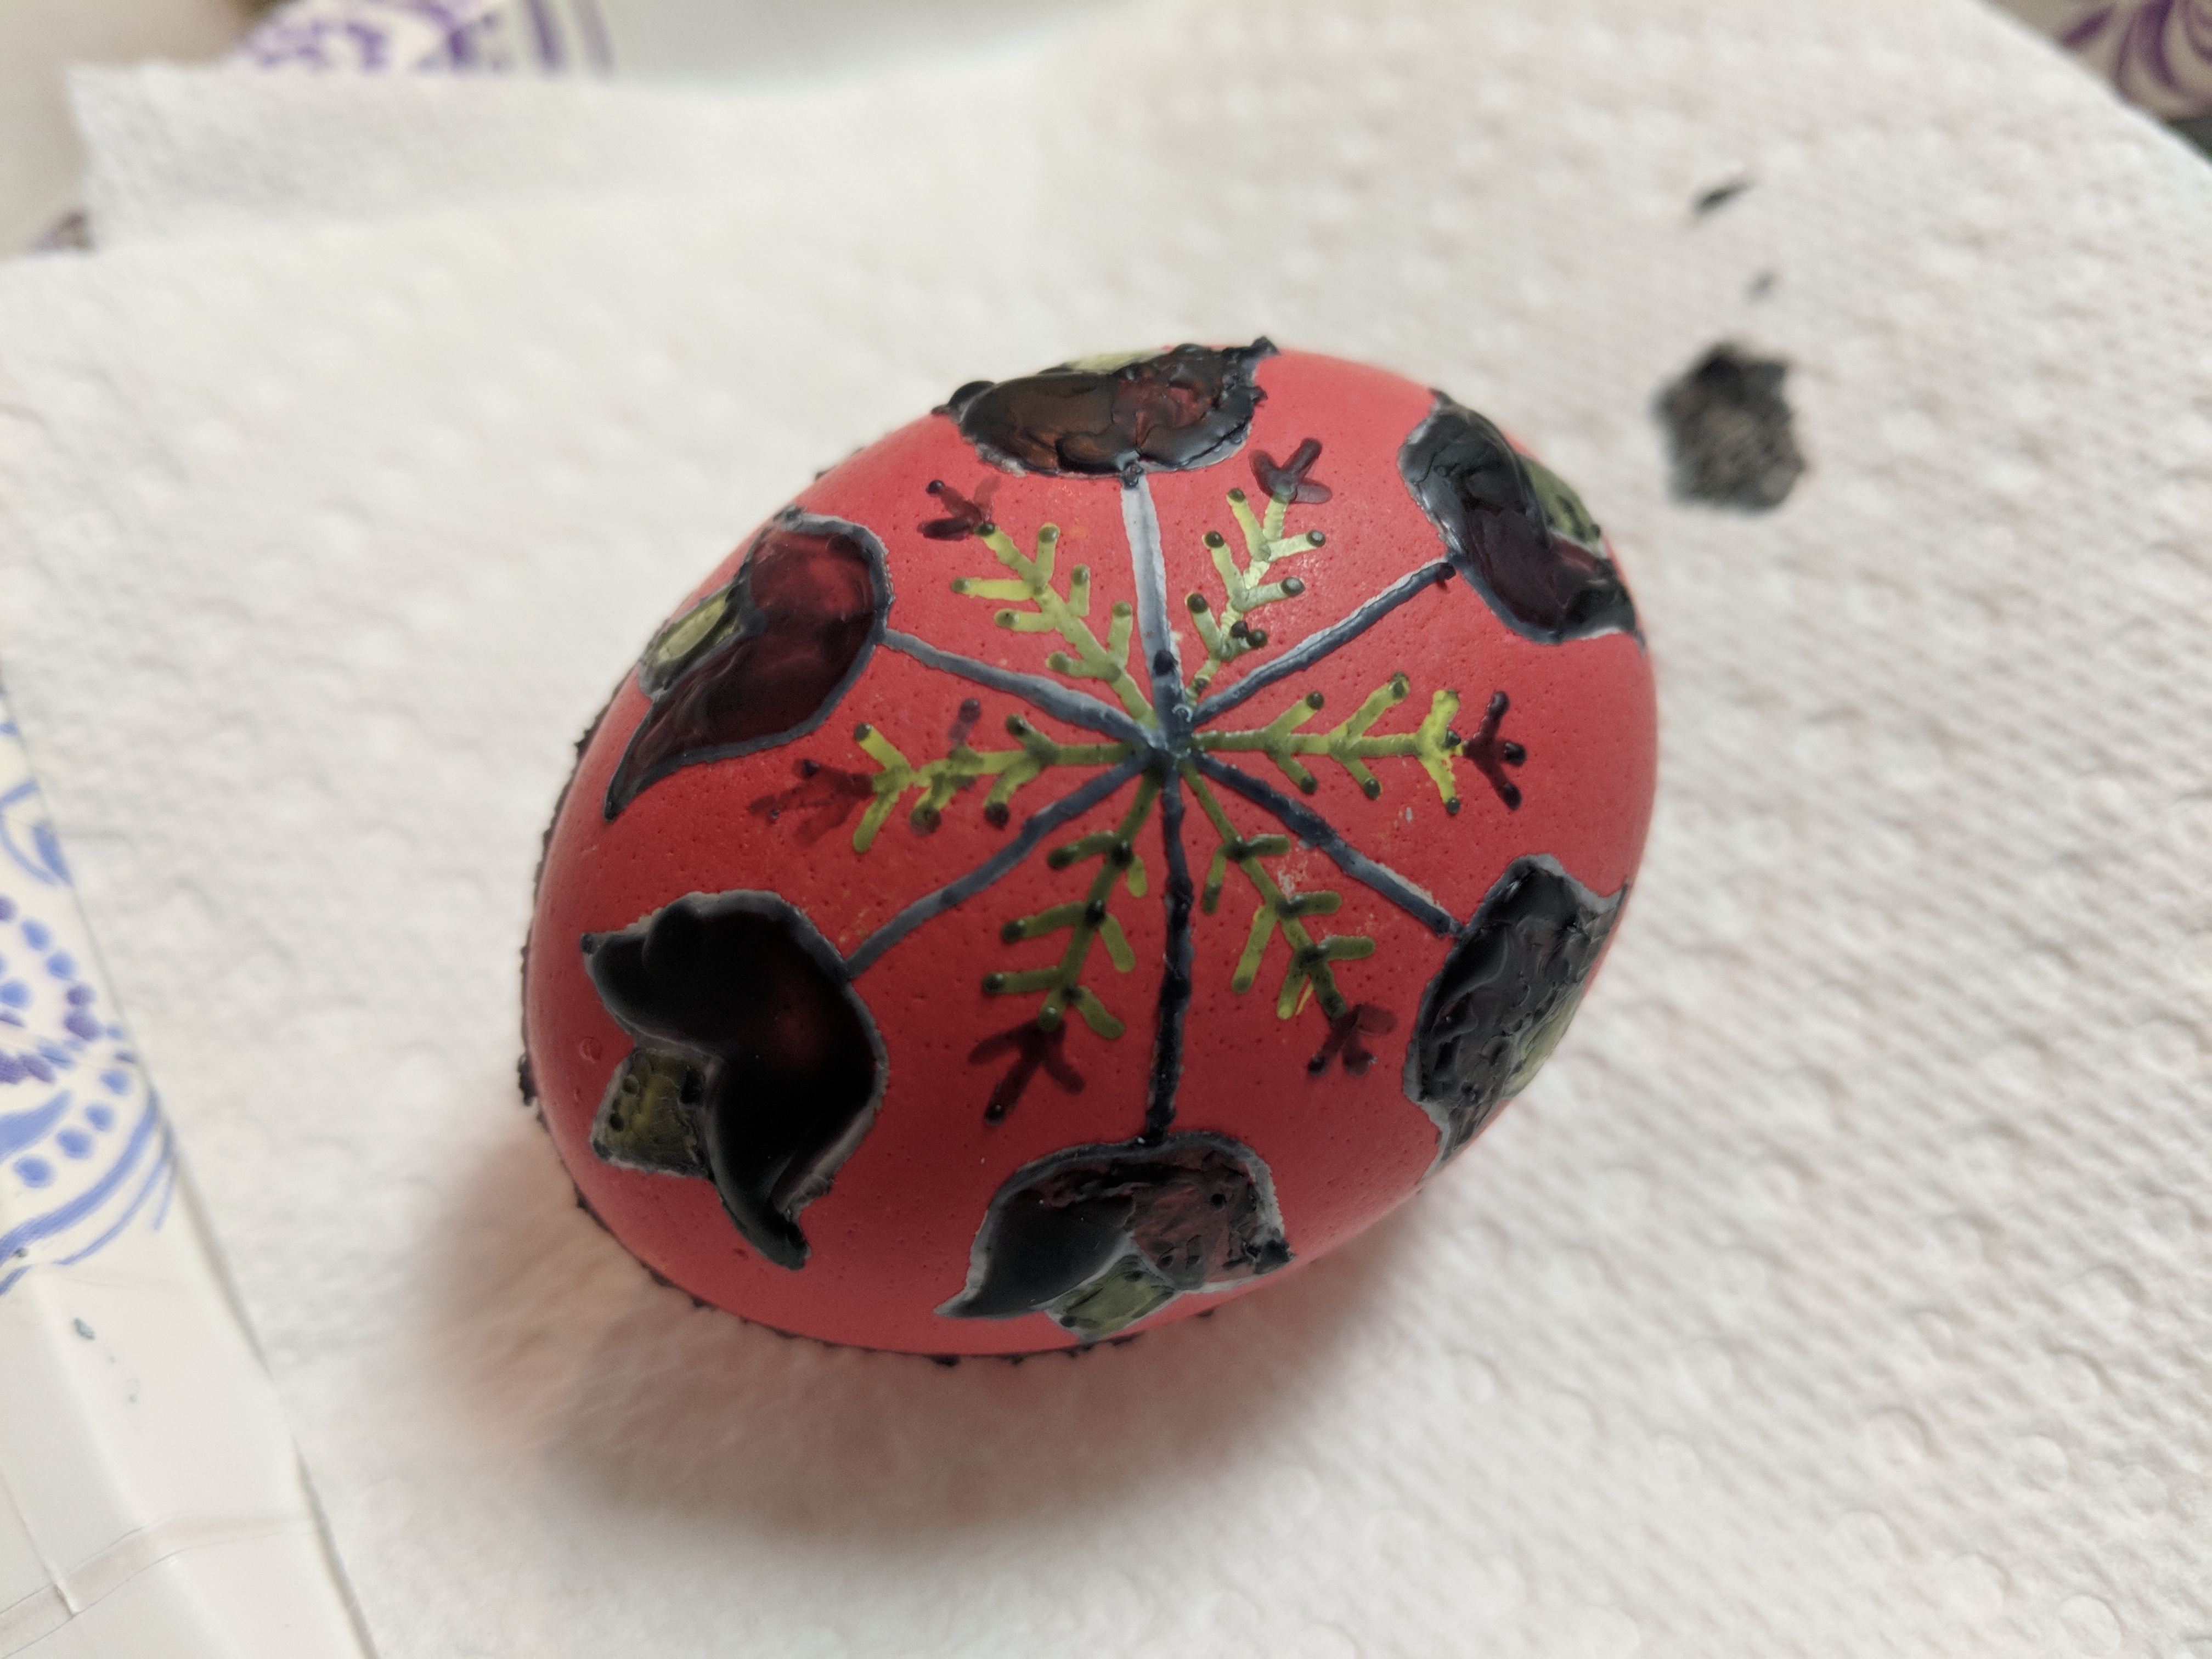
This was my second attempt at the pattern. The first time, I forgot to add wax to the flowers before the final dye and ended up with very gothic tulips.
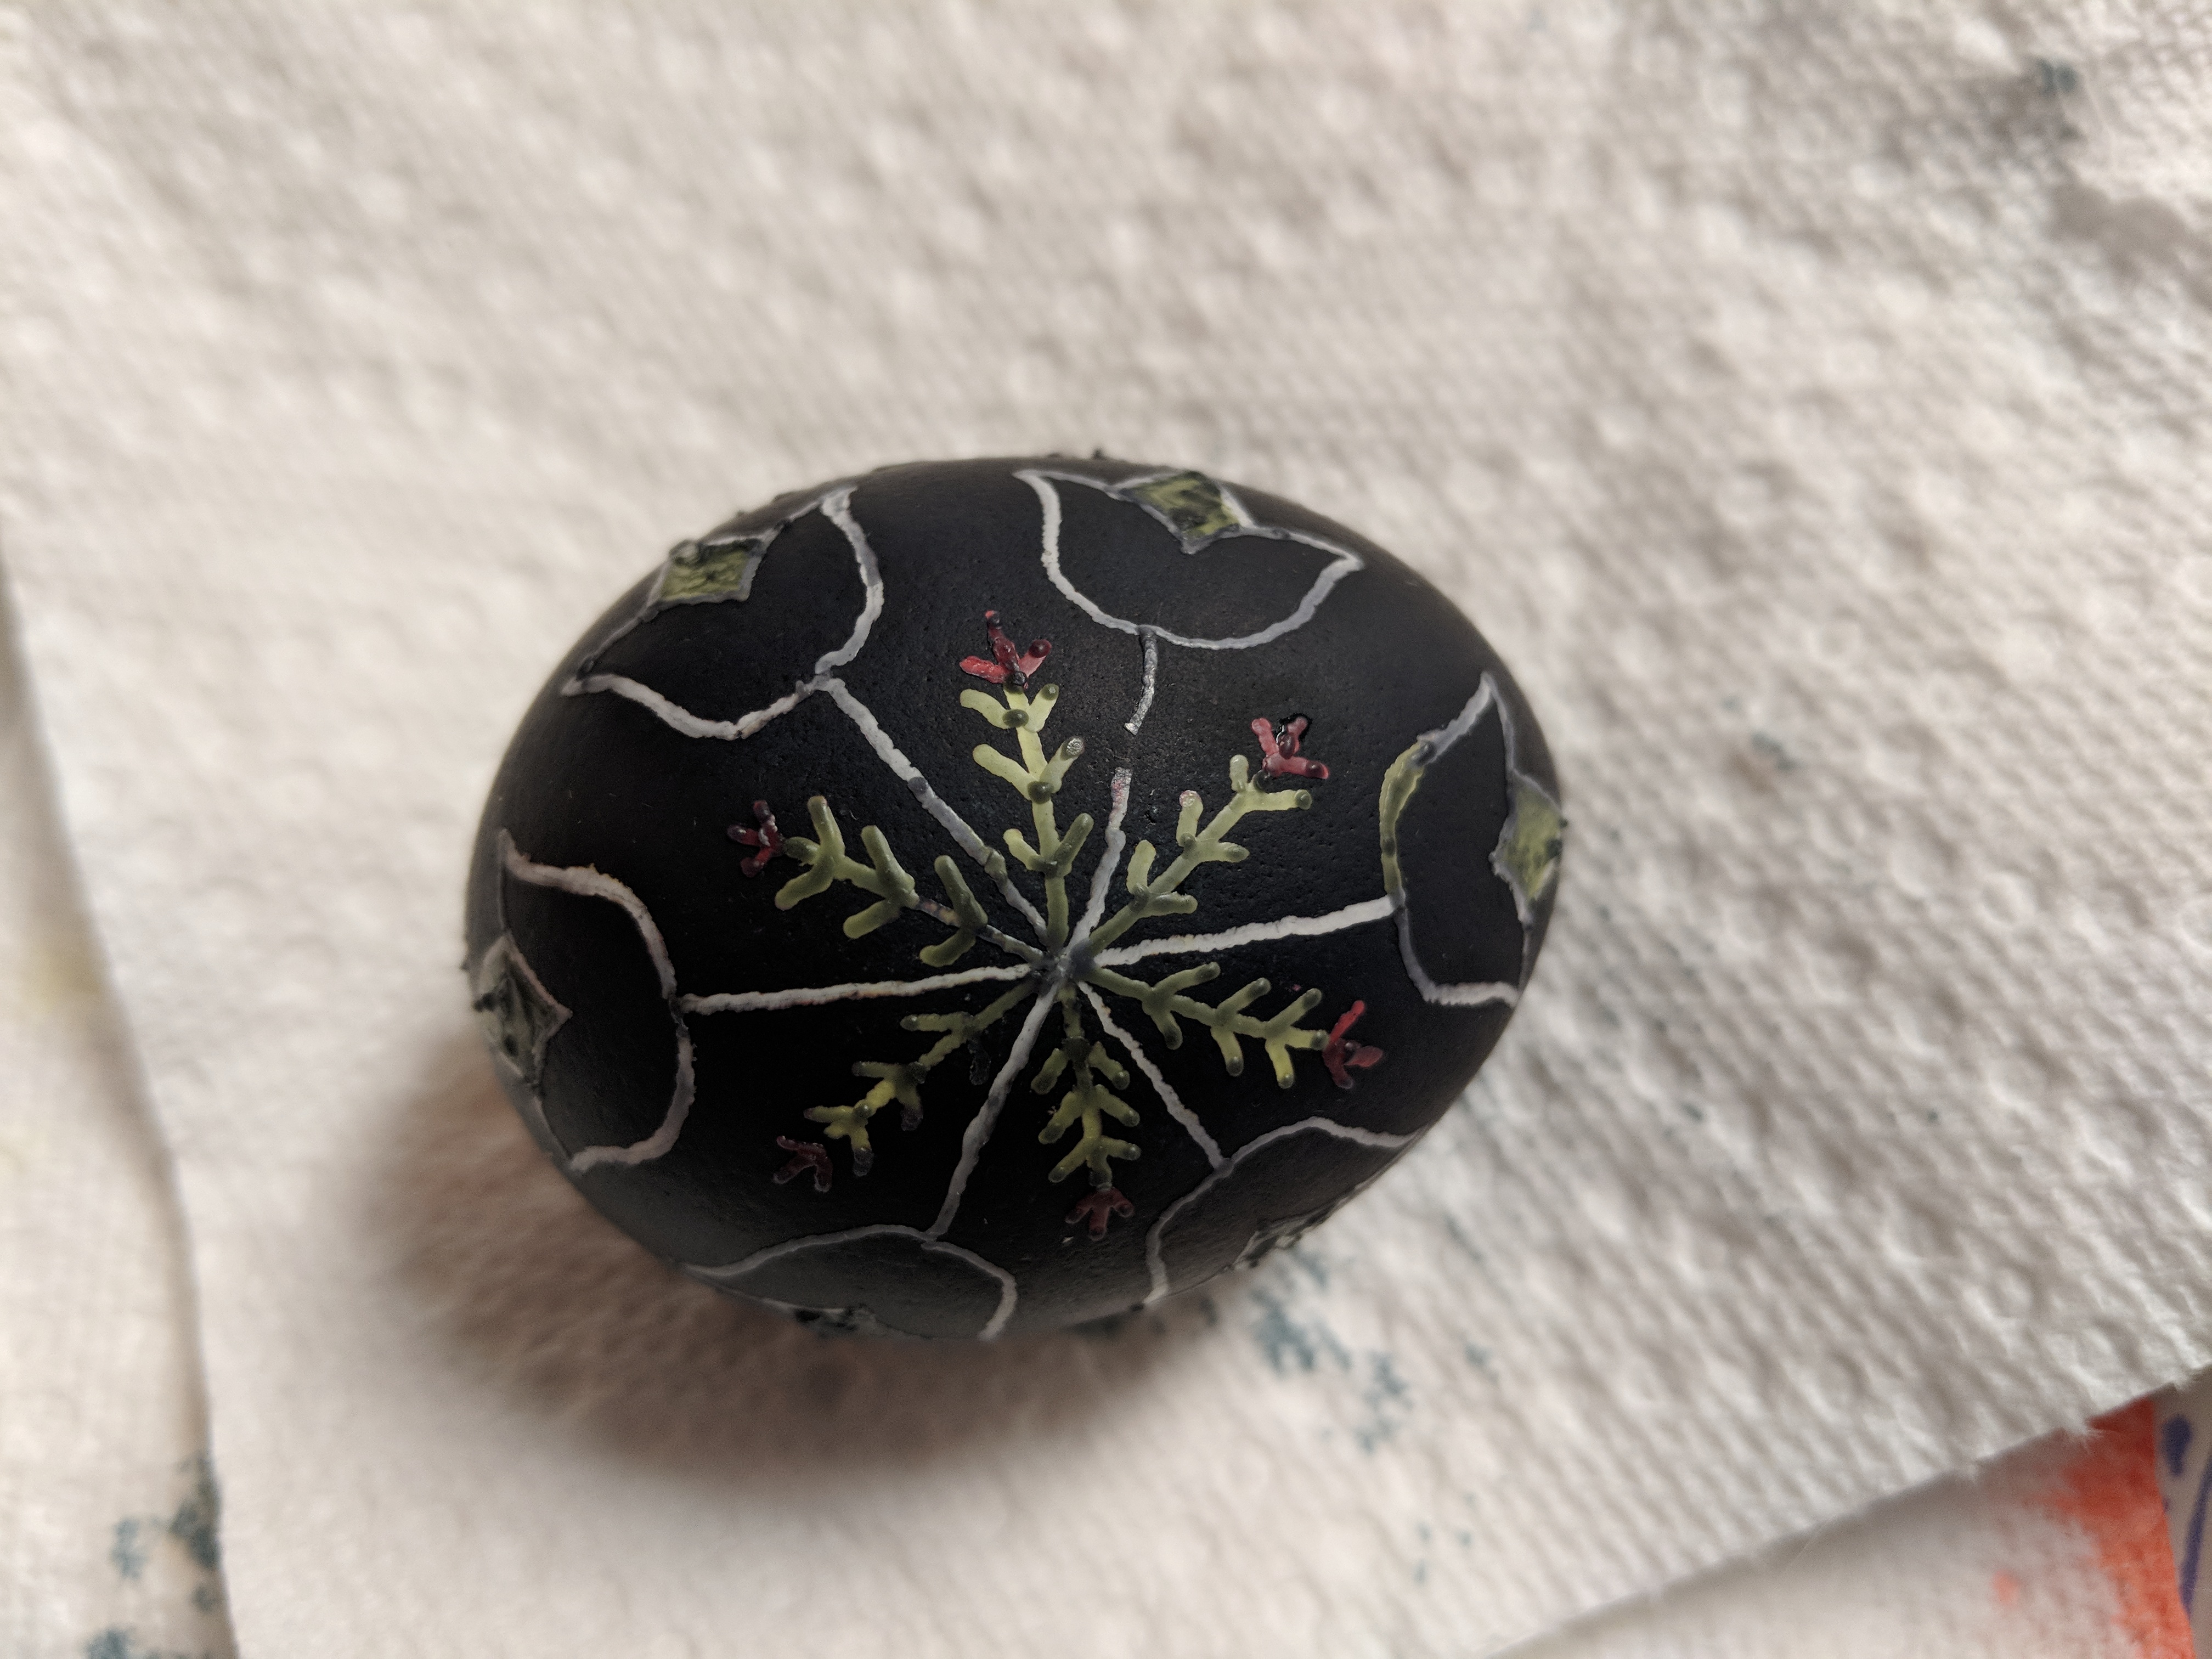
Gothic flowers. Wednesday Adams would love them.
Pro tip: triple check your wax before dropping the egg into a new color. It is really sad to pull your egg out of the dye and realize too late that you forgot to cover something you should have.

The one on the right is what I meant to do. Bright side, the other one turned out pretty nice after all.
Removing the Wax and Pencil Lines
Now time for the big reveal. We found the easiest way to get wax off the eggs was to hold them over a candle until the wax started to run and then wiping it off on a paper towel. Be gentle; you don’t want to rub any dye off or smudge your pattern.
Use a small, white eraser to get any remaining pencil lines off. You can also apparently use sharpies to sharpen up any lines that need it. It feels like cheating, and we didn’t have a sharpie handy so we didn’t, but it would make for cleaner lines.
Happy Easter! Христос воскрес!
